The Project: Revitalizing our cockpit table
The why
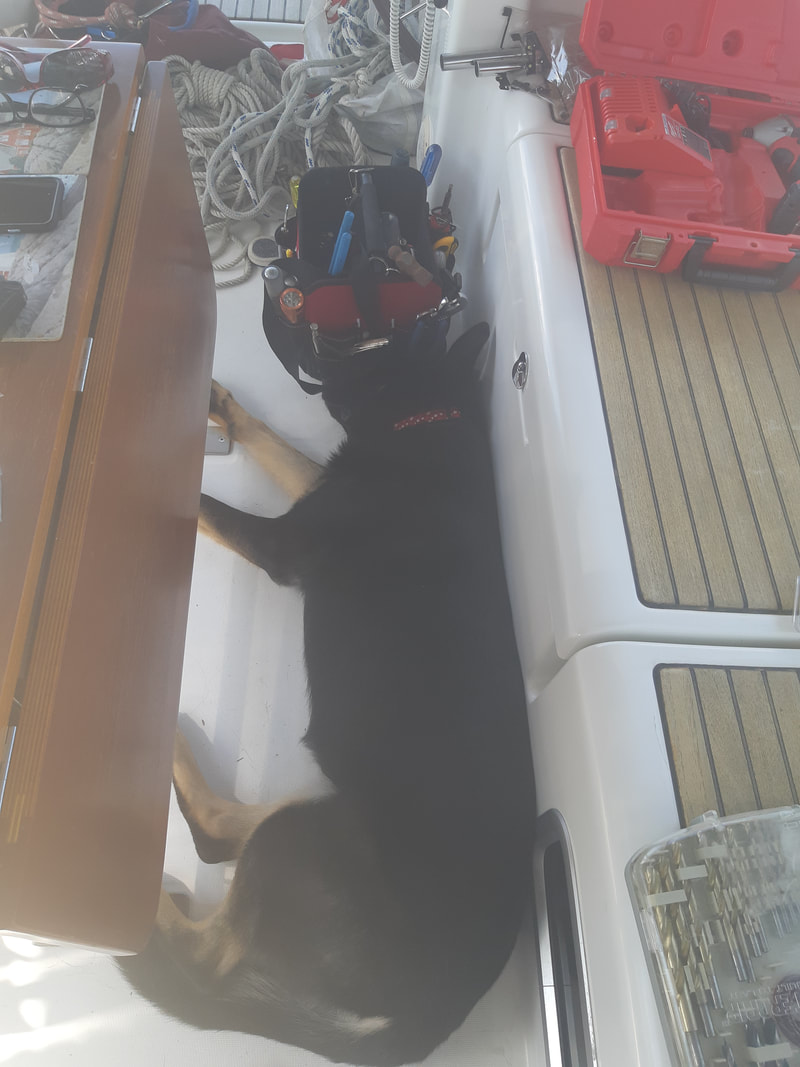
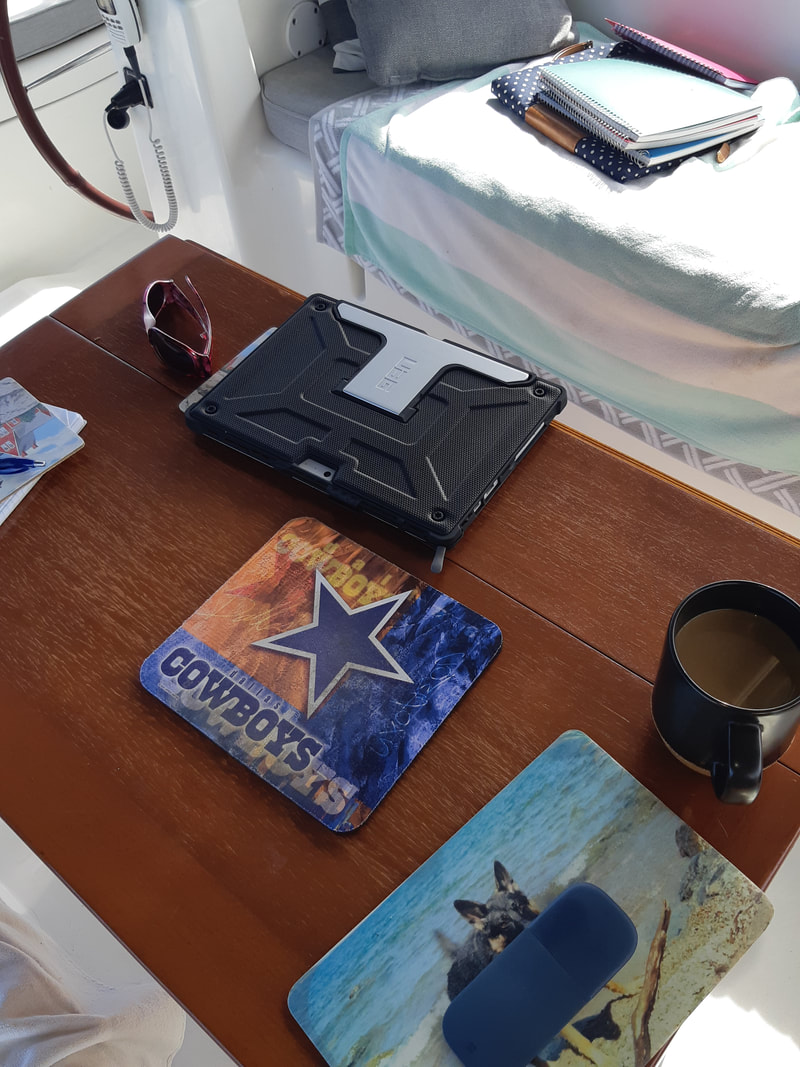
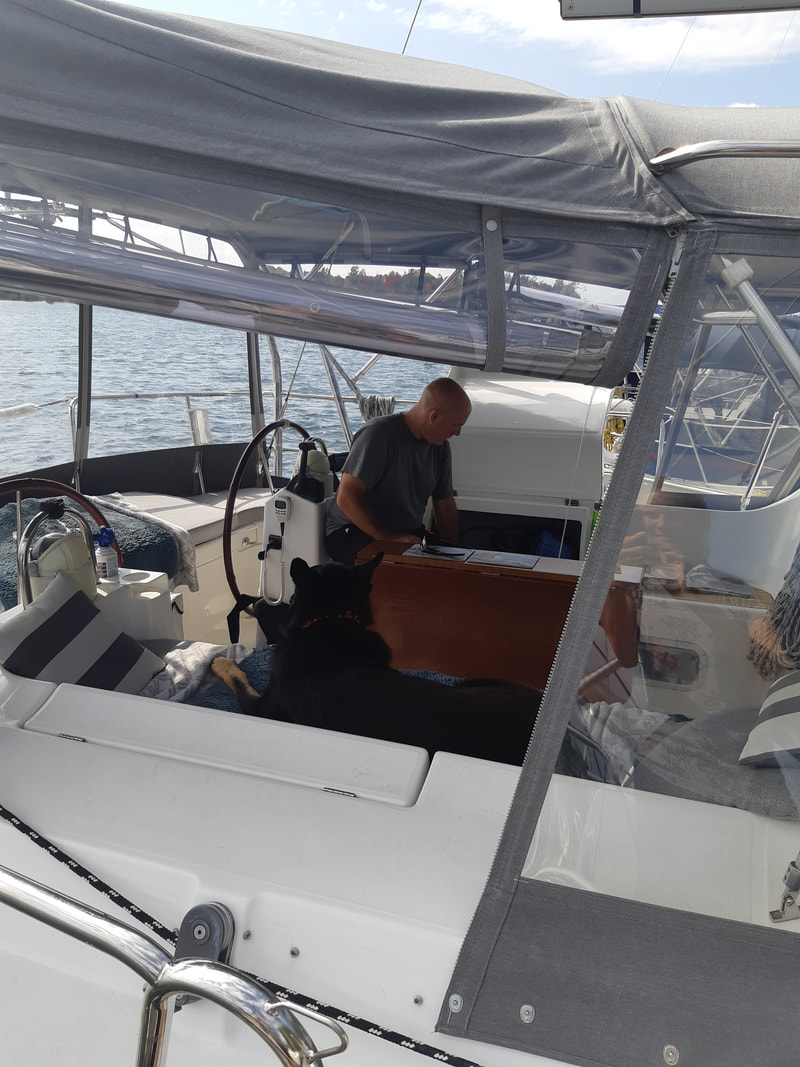
Our cockpit table gets a lot of use. During daylight hours it is our preferred dining spot. It also functions as my office when I do computer work and as a makeshift tool holder for when we are knee-deep in above decks projects. Of course, like most kitchen tables, it is also the place where we throw our sunglasses and cell phones, and where we rest our drinks for easy access. This is all good but all this wear and tear has started to make the wood look very worn and torn. Plus, we find that the table needs an in-between size (with a safety lip) for when we are sailing.
The plan
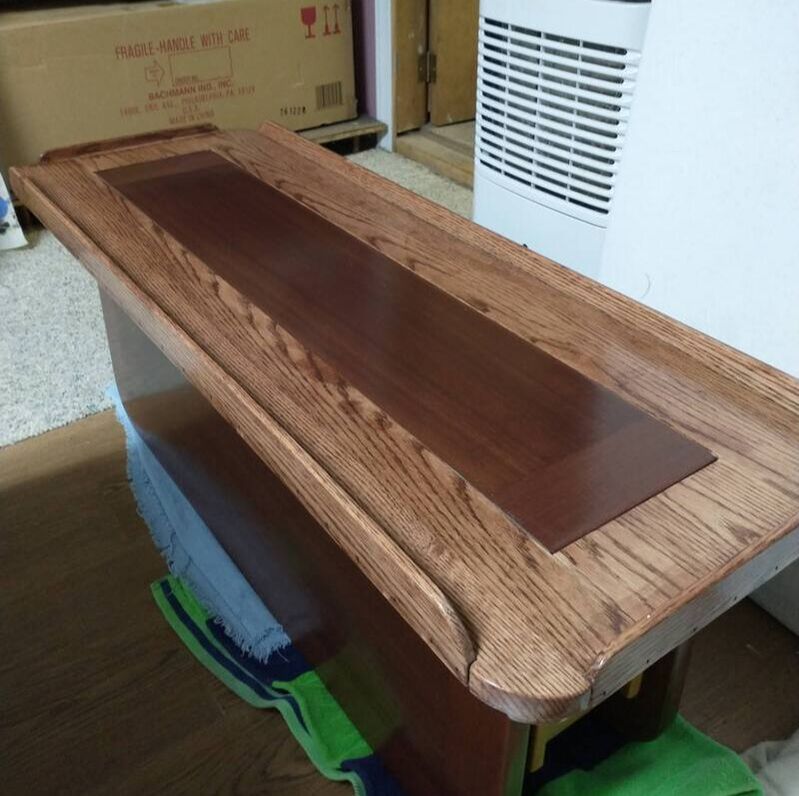
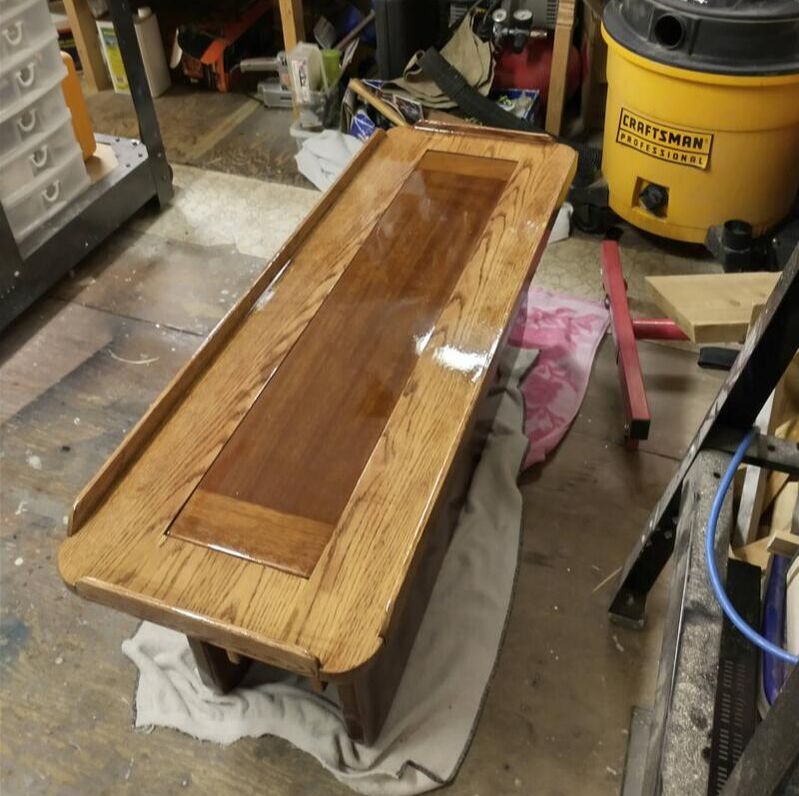
Sand, stain and varnish the table then build a custom overlay to extend the use and safety of the table while we are underway.
The cost
Materials - $130 which includes Wood ($20), Stain & Varathane ($110)
Labour - $0 (Mike did all the work on his own)
The total project cost was $130 CAD.
Getting it done
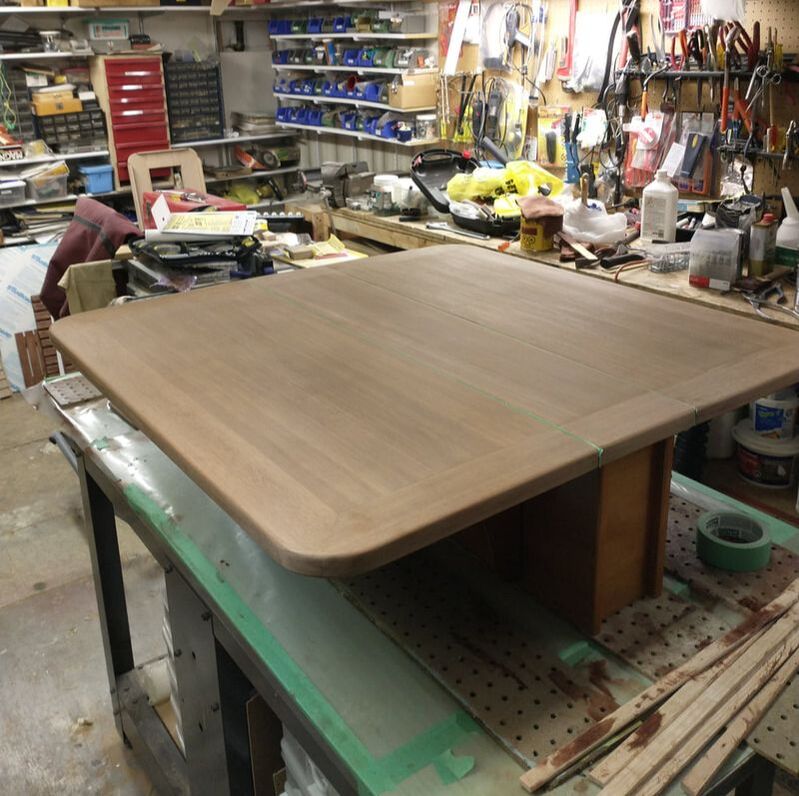
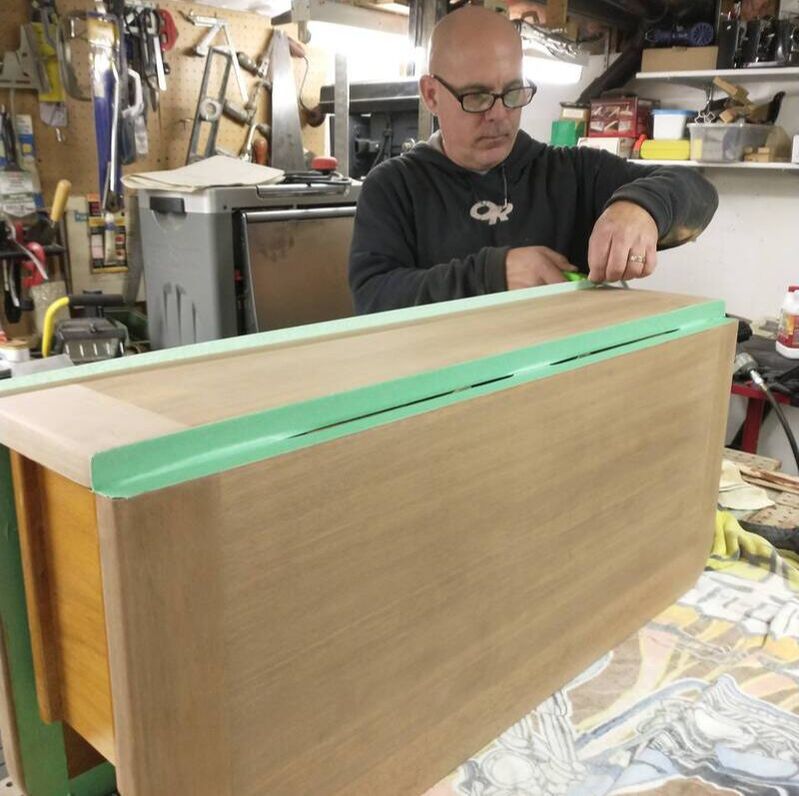
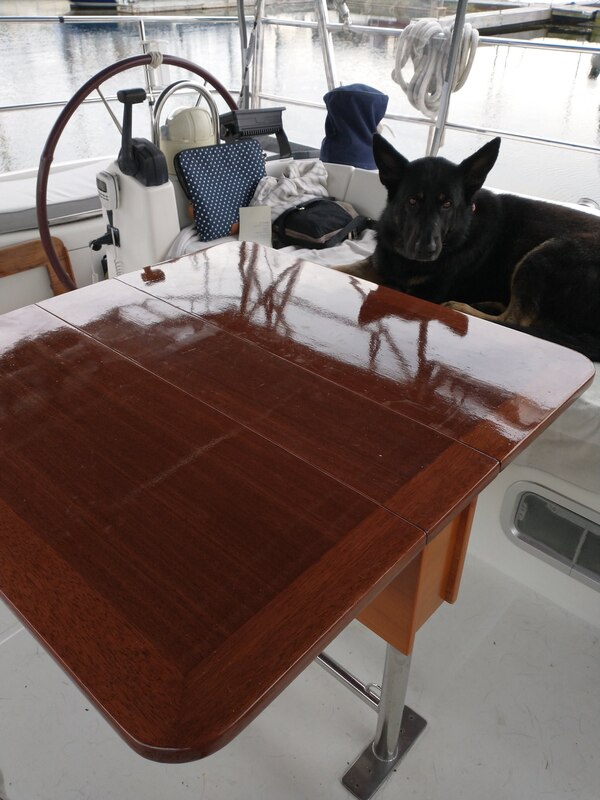
This project was mostly about patience and creativity. Sanding and staining the table was easy. The patience was needed for the last step of the table rehab - varnishing. Four coats of varnish was required and in between each coat Mike had to re-sand with finer and finer grades of sandpaper each time. Like I said, patience was key. That patience really came in handy when a final wet sand caused some odd markings to form under the varnish. Ugh, trapped water. All the varnish and stain had to come off and the process restarted. So much patience. The second go at it (with high grade marine varnish this time) had stunning results when the final coat was applied. Whew!
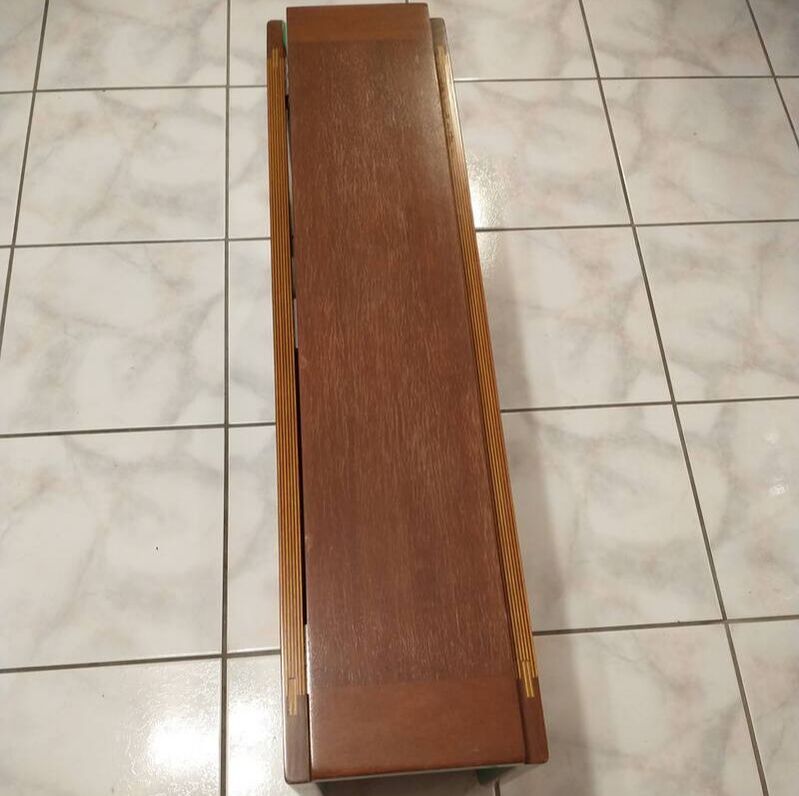
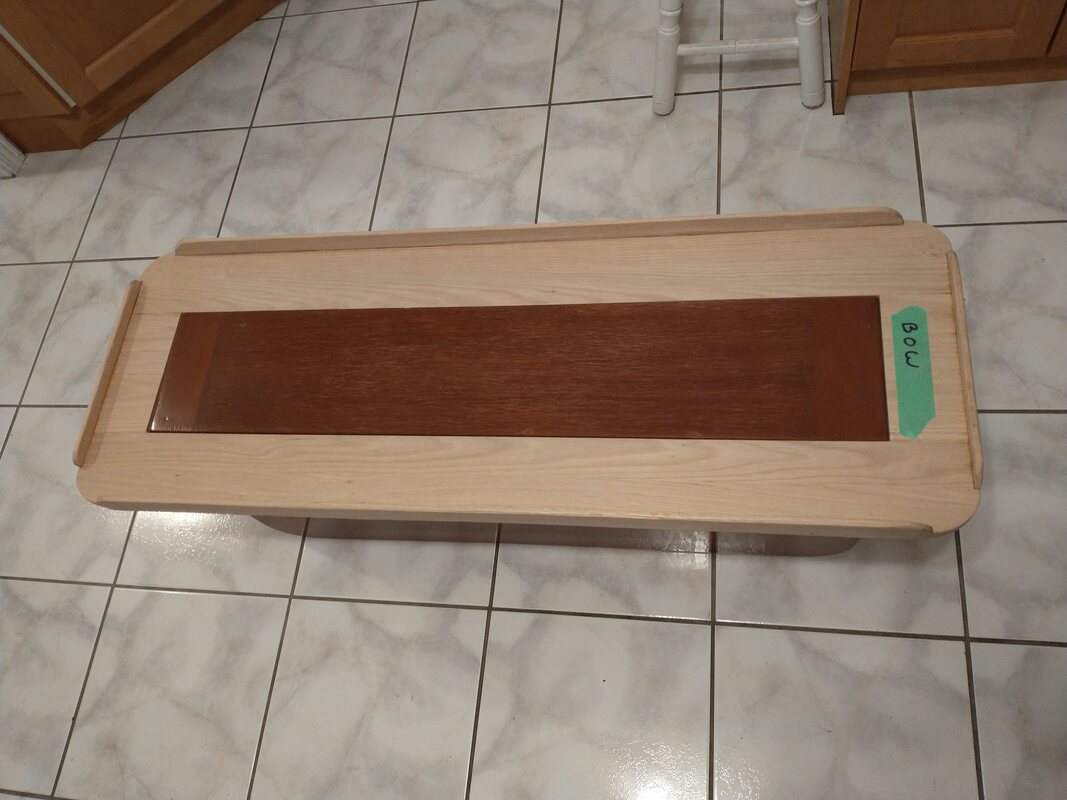
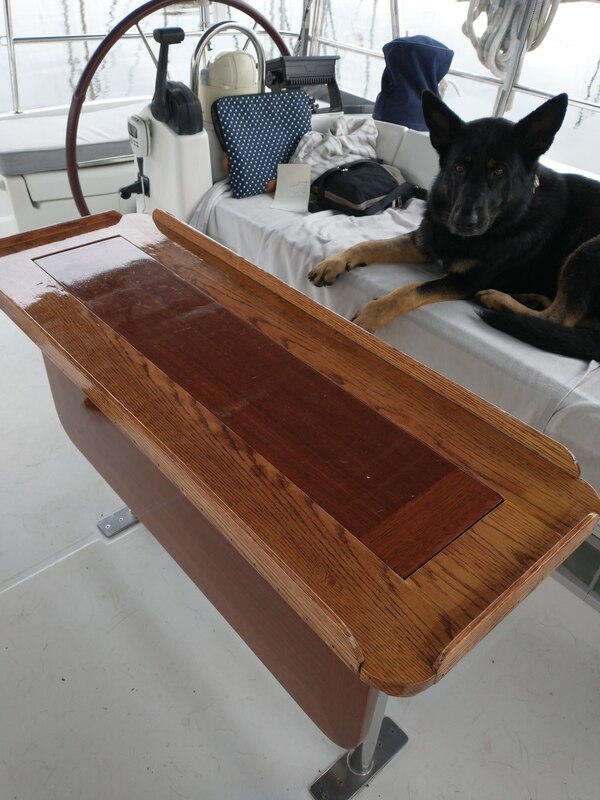
The creativity part of the project was required to build the custom overlay that would give us an extra 6 inches on either side of the table base when the leaves were down. Mike designed the shape and also the strong structure that allows it to stay balanced and in place in all conditions. And guess what? It got several coats of stain and varnish too!
Where we are today - The cockpit table is finished and installed. The existing table set up looks beautiful but the extension is the favourite. Not only is it functional but it looks pretty darn good too!
