Project: Building a Boat Garage
The why
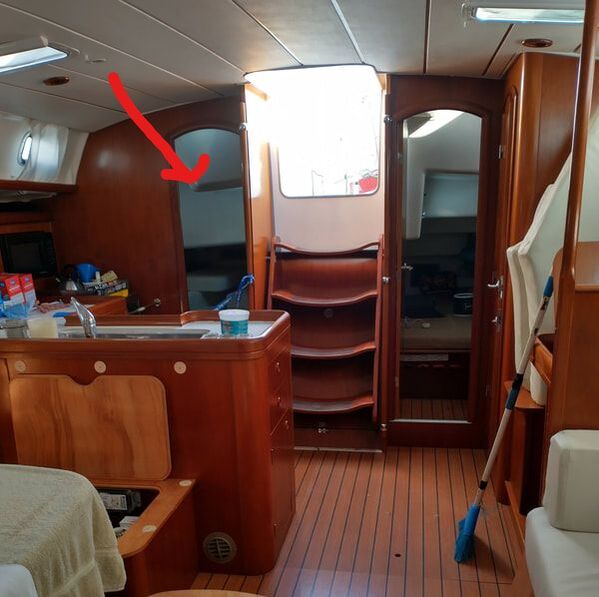
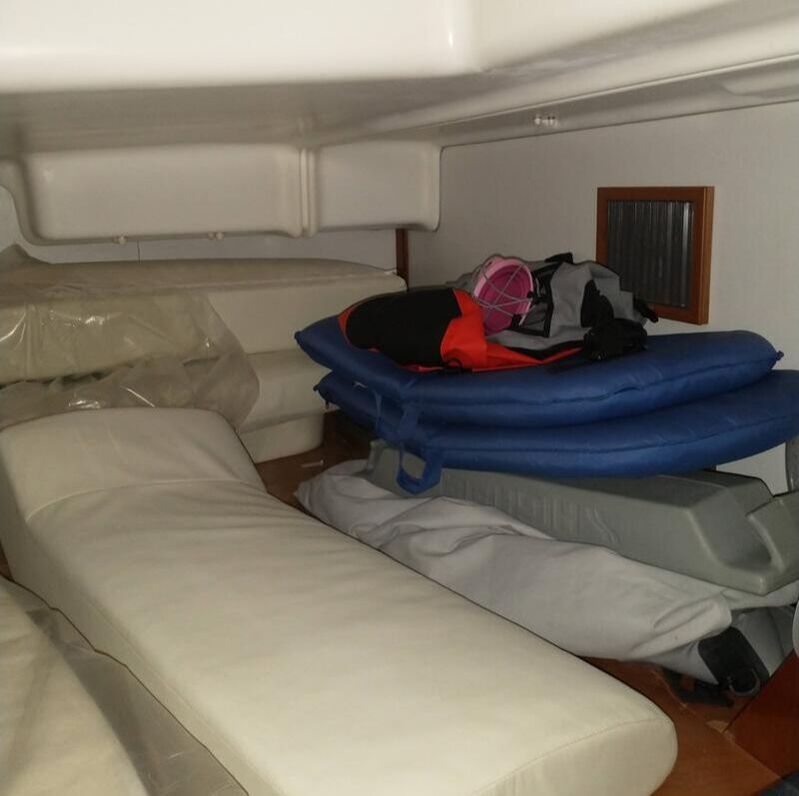
There were actually two drivers for this project. 1. We needed a home for our future water maker and, 2. We were craving not just more storage but more organized and accessible storage. At 47 feet, Wild Horses certainly has her fair share of lazarettes, cubbies, cupboards and drawers but not all of it is accessible for tools or gear we need to grab quickly or often. Kayaks, life jackets, swim toys, our cockpit enclosure when not in use, Mike's tools. This list goes on and on and, unfortunately, all that stuff just landed in big piles in our otherwise unused starboard aft cabin. We needed a better solution!
There were actually two drivers for this project. 1. We needed a home for our future water maker and, 2. We were craving not just more storage but more organized and accessible storage. At 47 feet, Wild Horses certainly has her fair share of lazarettes, cubbies, cupboards and drawers but not all of it is accessible for tools or gear we need to grab quickly or often. Kayaks, life jackets, swim toys, our cockpit enclosure when not in use, Mike's tools. This list goes on and on and, unfortunately, all that stuff just landed in big piles in our otherwise unused starboard aft cabin. We needed a better solution!
The plan
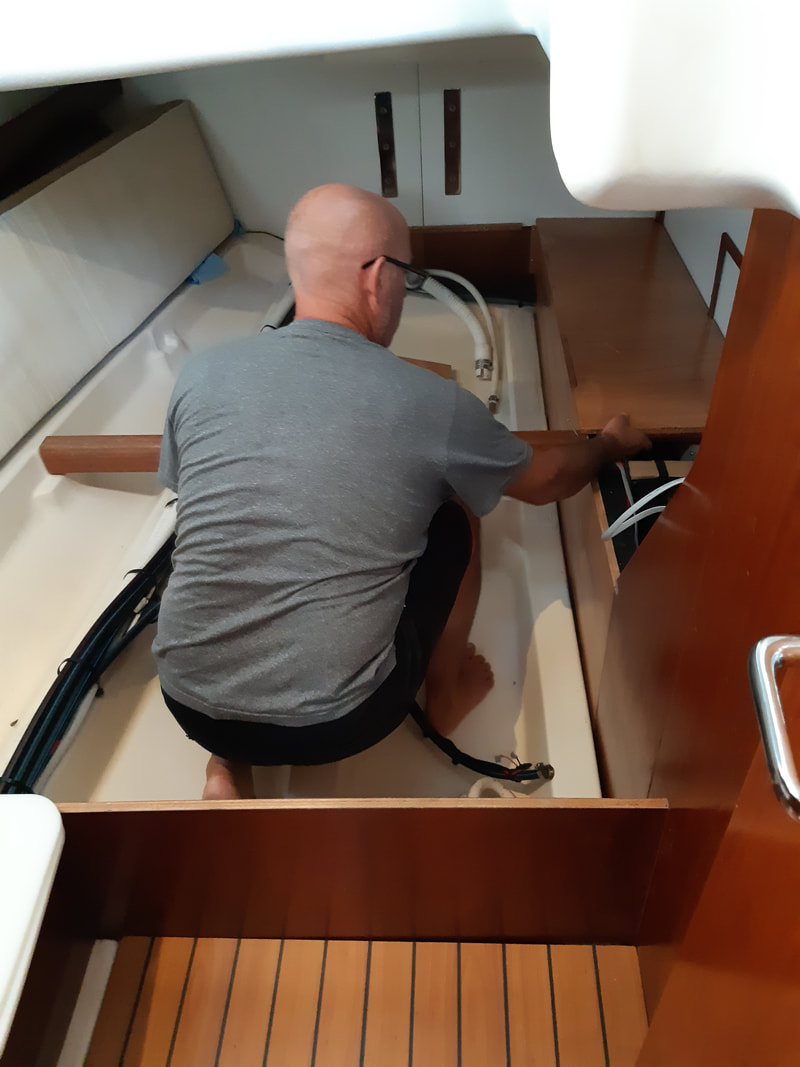
1. Remove the cabin's mattress and also the fresh water tank from under the cabin floorboards.
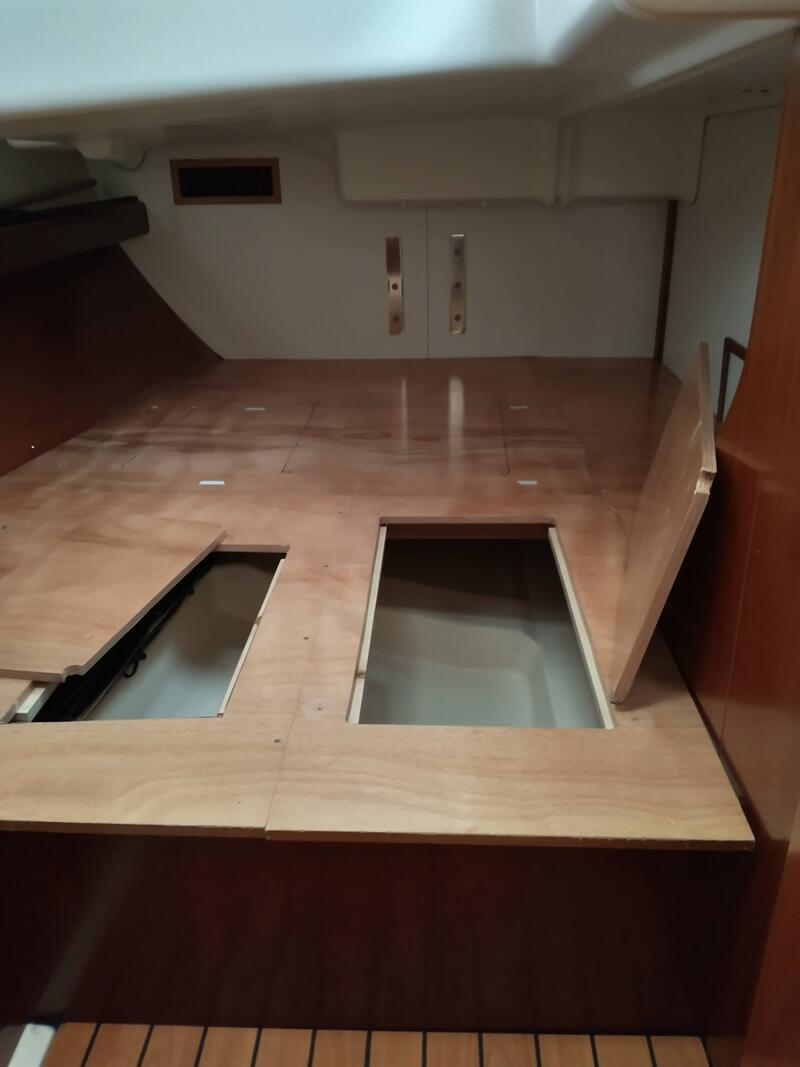
2. Build gear compartments that sit on the floorboards and also create new access hatches in the existing cabin floorboards to easily get at anything stored below (including our future water maker)
1. Remove the cabin's mattress and also the fresh water tank from under the cabin floorboards.
2. Build gear compartments that sit on the floorboards and also create new access hatches in the existing cabin floorboards to easily get at anything stored below (including our future water maker)
The cost
A mere $110 CAD. Our only cost was for the wood, stain and stainless steal screws to build the shelves. Of course, there was our labour involved too but no real money outlay on that front.
A mere $110 CAD. Our only cost was for the wood, stain and stainless steal screws to build the shelves. Of course, there was our labour involved too but no real money outlay on that front.
Getting it done
Our first big task - Remove the fresh water tank
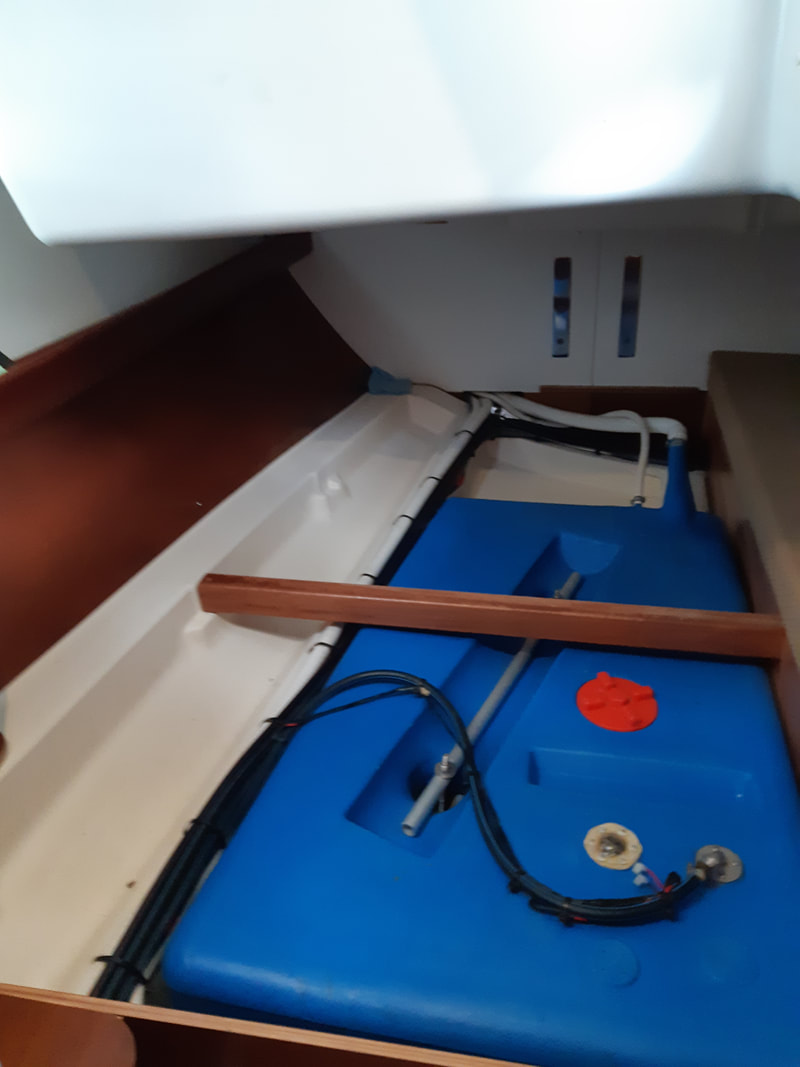
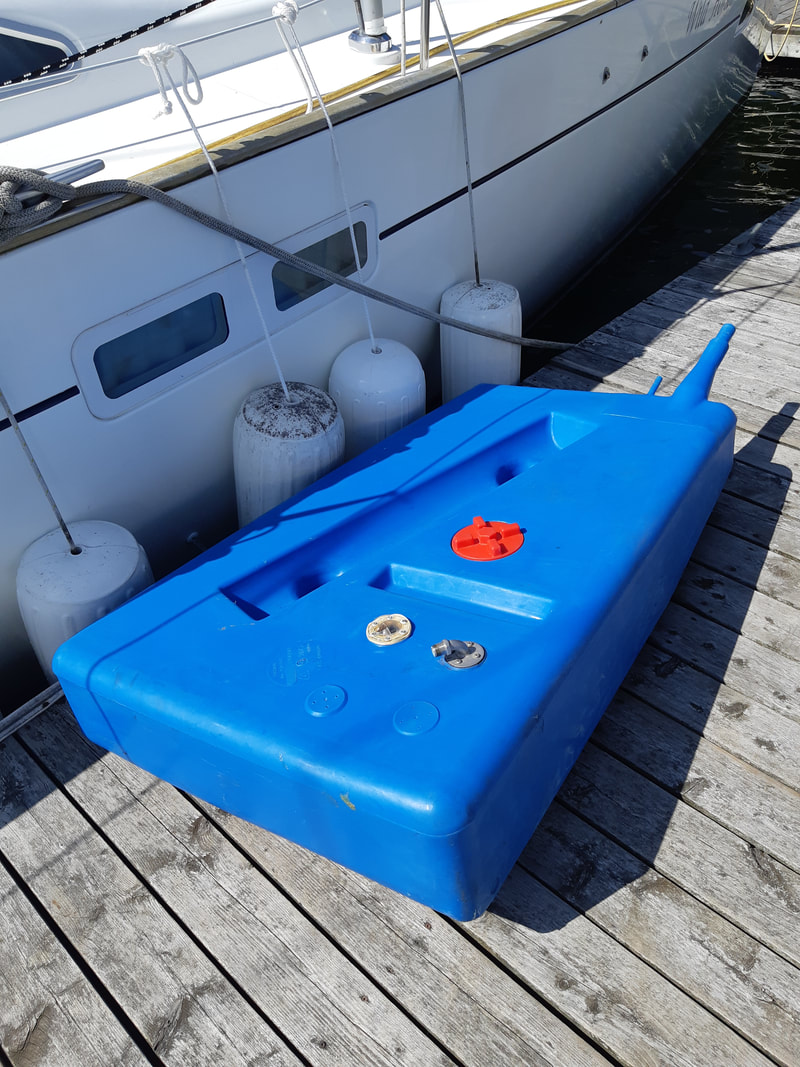
We are very lucky with Water Horses in that she came with four 55 gallon water tanks. That is a lot of water storage and since we have owned Wild Horses, we have never used that fourth tank. In fact, neither of the previous two owners needed that fourth tank either. When you factor in that we will be adding a water maker (i.e. a reverse osmosis system that makes fresh water from salt water), the need for that fourth tank reduces to zero. There you have it. The decision to remove that fourth tank and open up a large amount of additional storage space was a pretty easy one.
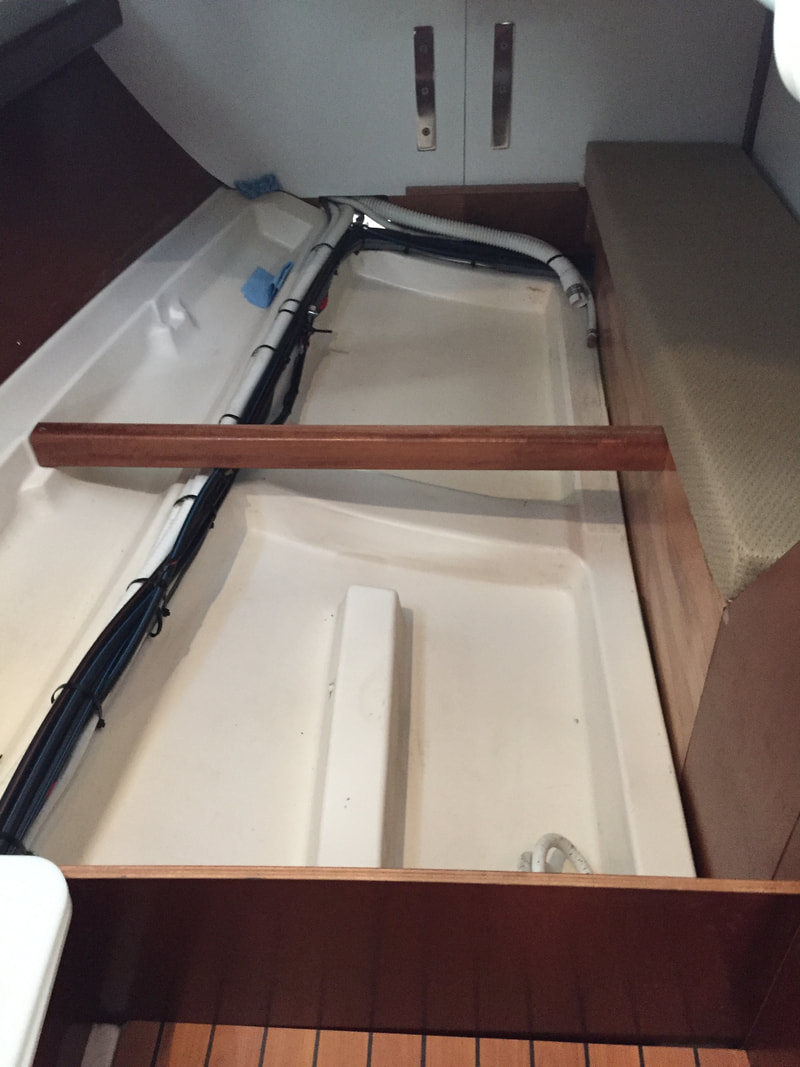
And removing the tank, surprisingly, was just as easy. Once the floorboards and existing bracing were removed, the tank was easily disconnected and walked up the companionway and off the boat.
Task two - creating access hatches in the existing floorboards
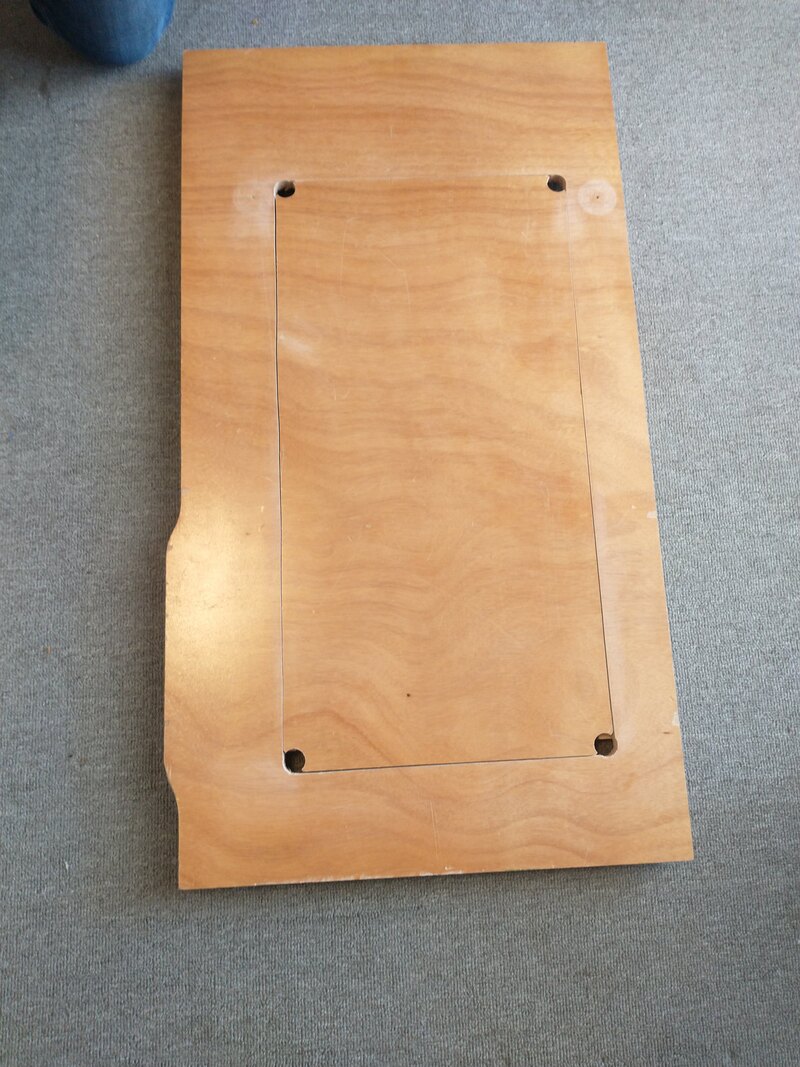
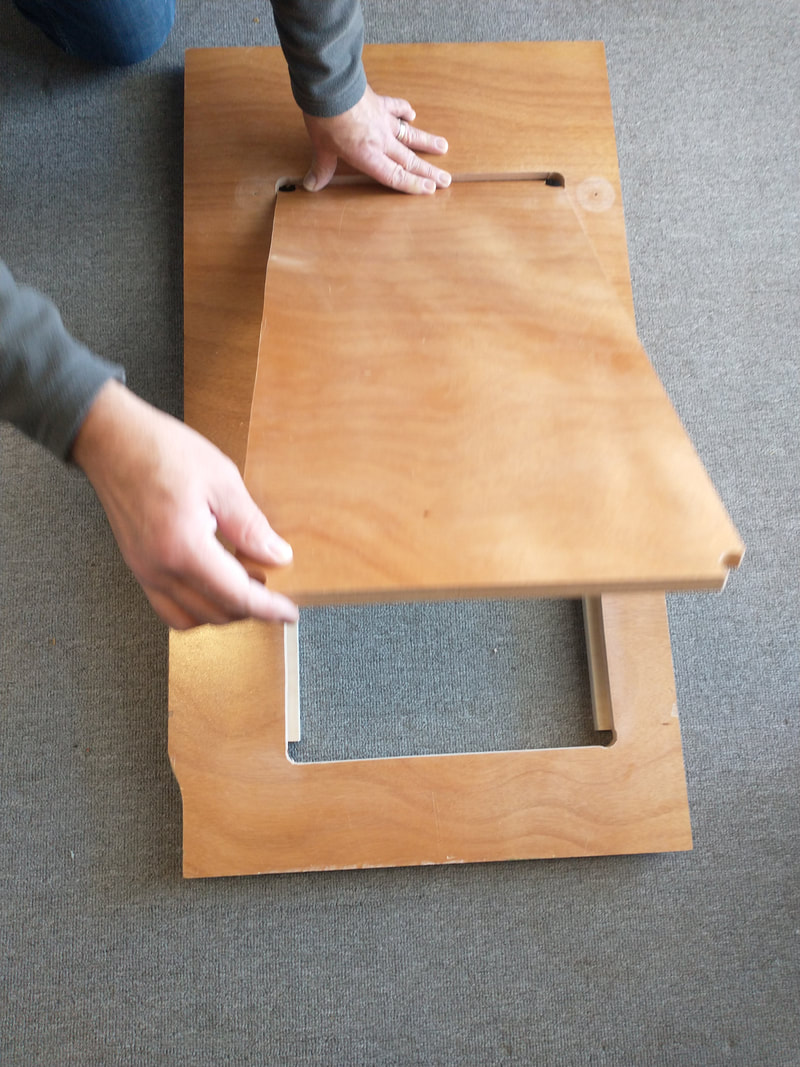
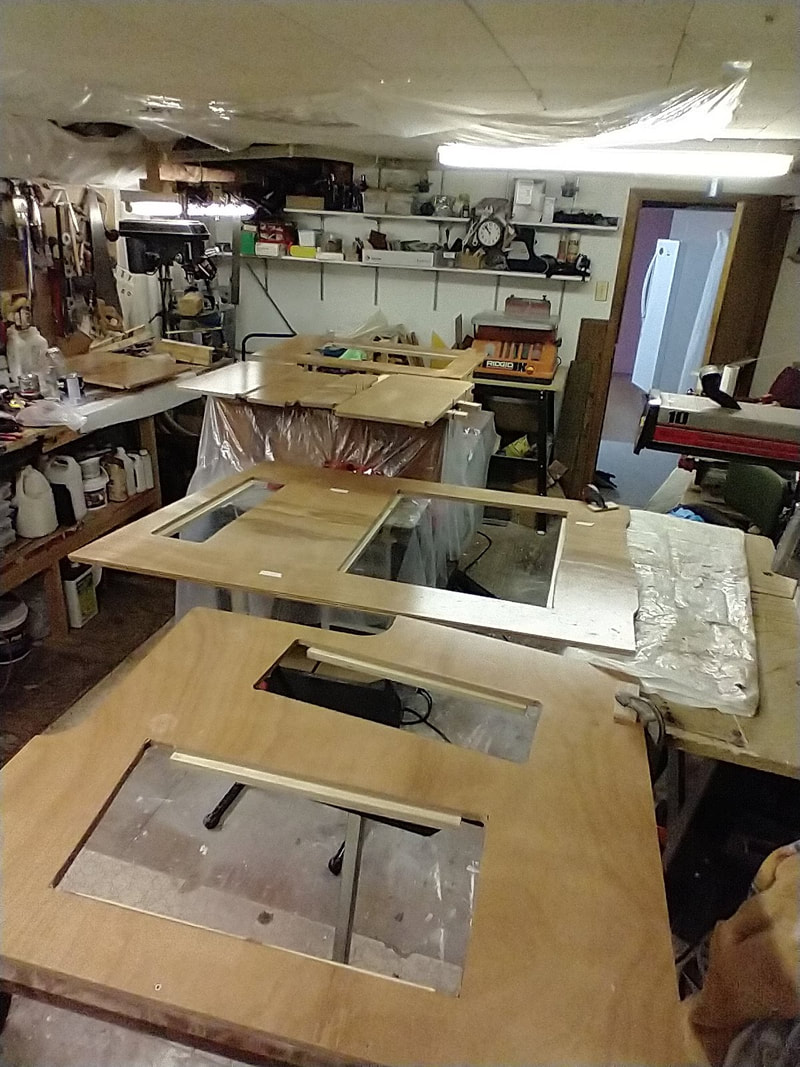
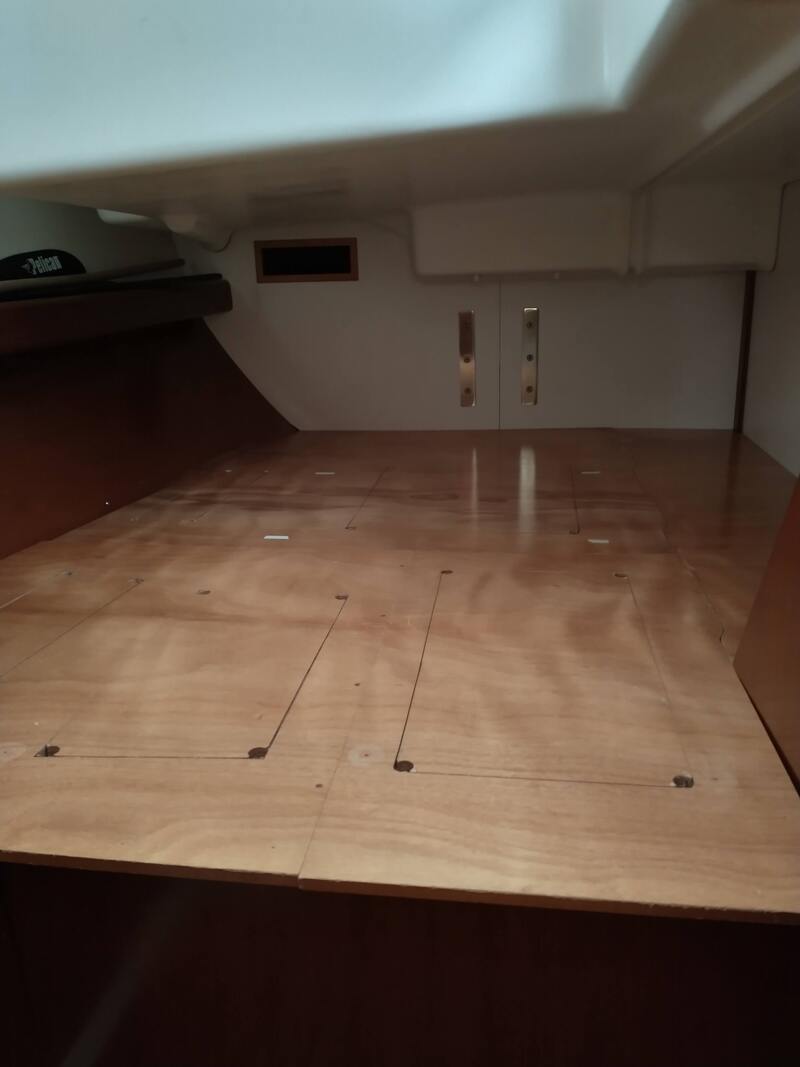
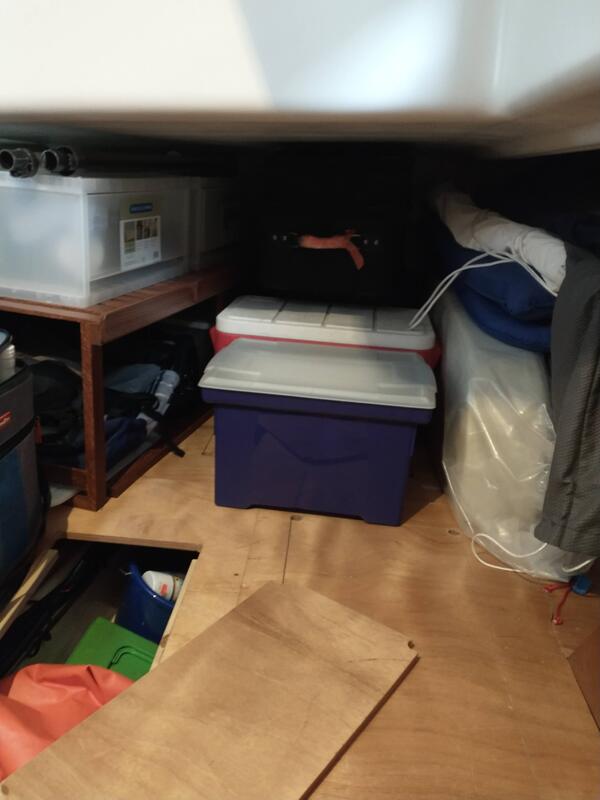
This task was more about strategy, planning and measuring than it was about effort. The original set up for the floor in the aft cabin is three large boards that piece together to form the floor. We can get to the storage underneath only by removing one of these large boards, which means everything on top of the board has to be removed. Time-consuming and clunky!
This task was more about strategy, planning and measuring than it was about effort. The original set up for the floor in the aft cabin is three large boards that piece together to form the floor. We can get to the storage underneath only by removing one of these large boards, which means everything on top of the board has to be removed. Time-consuming and clunky!
Mike has solved this problem by building smaller access hatches in each of the larger boards. Now we can access the storage below very easily.
Task three - building a storage box for our cockpit enclosure
Just a word on cockpit enclosures. They are amazingly practical in that they surround our cockpit and create a little indoor space in our outdoors. It is like a sunroom on the boat. The negative part is that the windows are made up of plastic that easily scratches. Aargh! My (Victoria) whole existence seems to be protecting the plastic from...well, life. It is a full-time job and hard work! We usually keep our enclosure up and in use but in the heat of the summer it is stored in the boat. To protect the plastic while stored, we bought stainless steel HVAC tubing. Each piece of the enclosure goes into a cloth bag and then stored within a tube. Ta-dah! Protected plastic.
To date, the tubes have sat in Ocean's cabin but we really wanted a permanent spot for them in our garage. We knew that we needed a U-shaped container to hold the 6 tubes and the original plan was for Mike to build the structure. Instead, we got a little creative and re-purposed and old U-shaped side table. It held the tubes perfectly - lucky! We can consider this task done!
Task four - building a shelving cubby for tools and other gear
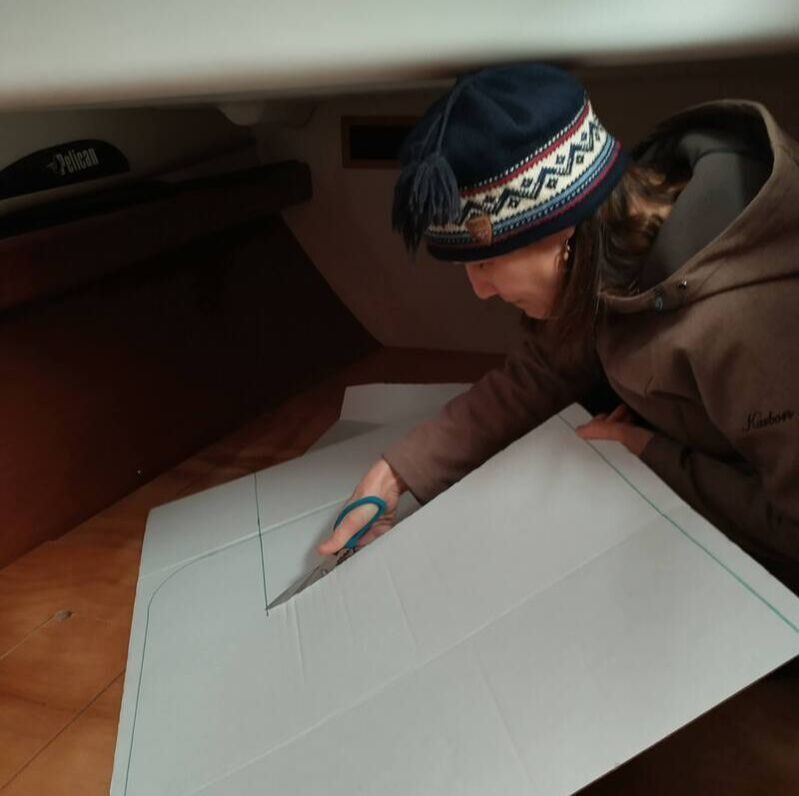
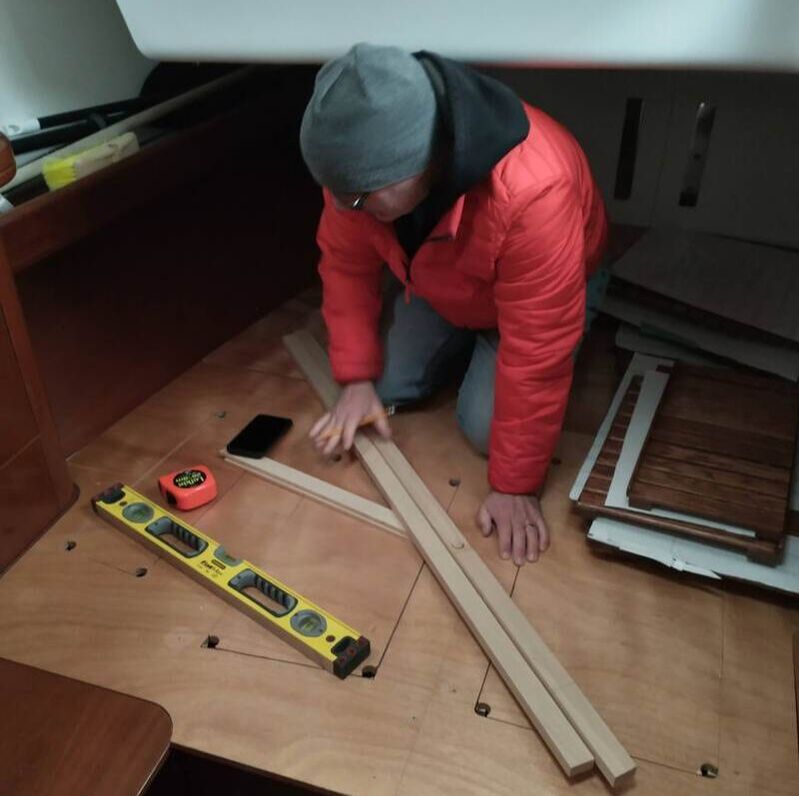
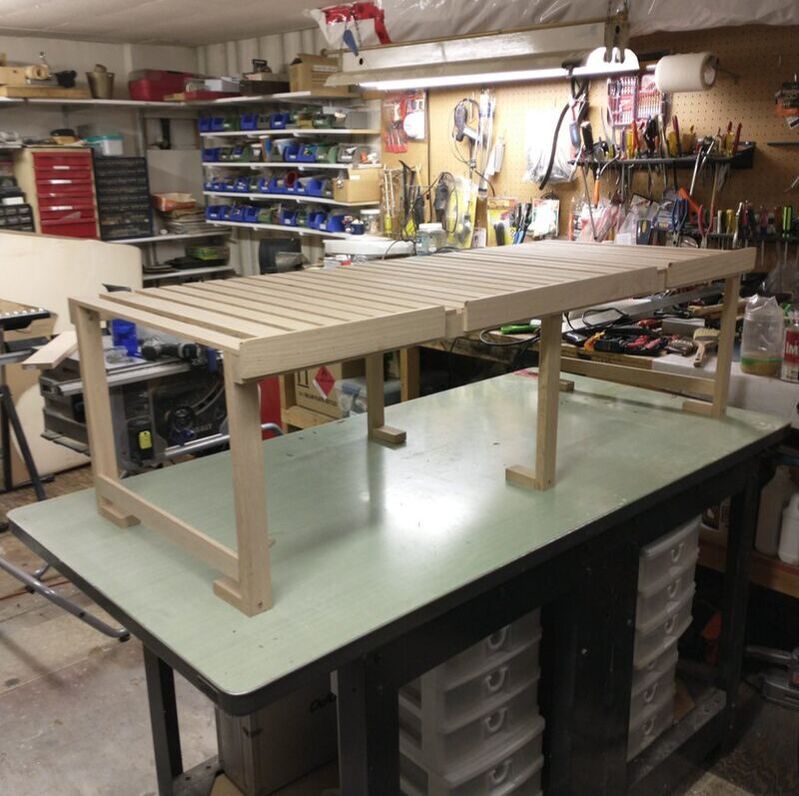
This task involved a lot of planning and measuring twice. The idea was to build semi-permanent shelves along the starboard inside hull and then to also add the access hatches below and across the entire floorboard. The big challenge was that the boat is, well, boat-shaped. Not only is nothing square but the aft clearance in the cabin is completely different that the middle and forward clearance. Not too worry though! This just meant that we needed to do a lot of measuring and re-measuring. We also had to carefully plan where the access hatches would land in relation to the new shelving. Moving the shelving an inch to the left to secure a better fit could mean that an access hatch is compromised. Like I said, lots of planning and measuring twice!
This task involved a lot of planning and measuring twice. The idea was to build semi-permanent shelves along the starboard inside hull and then to also add the access hatches below and across the entire floorboard. The big challenge was that the boat is, well, boat-shaped. Not only is nothing square but the aft clearance in the cabin is completely different that the middle and forward clearance. Not too worry though! This just meant that we needed to do a lot of measuring and re-measuring. We also had to carefully plan where the access hatches would land in relation to the new shelving. Moving the shelving an inch to the left to secure a better fit could mean that an access hatch is compromised. Like I said, lots of planning and measuring twice!
Task Five - The end product!
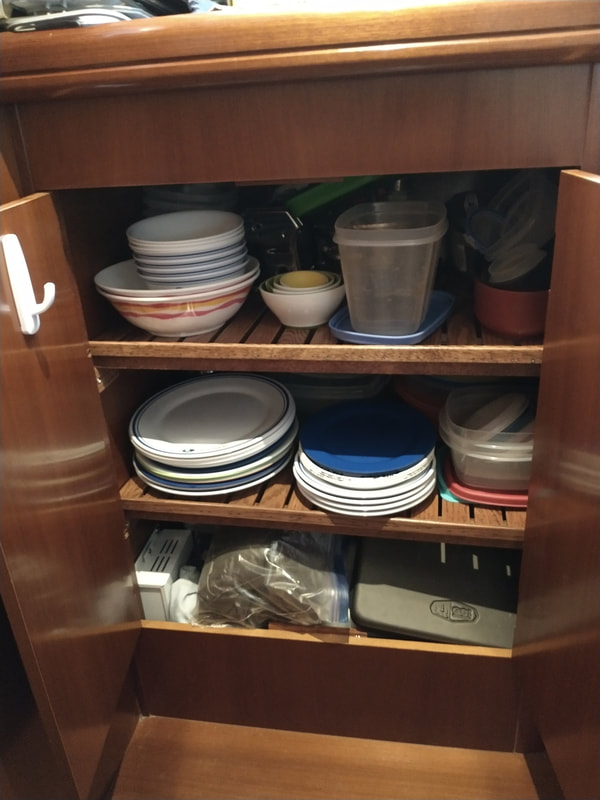
The garage is now installed and has given us A LOT more storage space. Not only is one of our new lithium batteries stored under the floorboards but the little access hatches that Mike cut into the floorboards has given us more storage for our other stuff (mostly our extra gear that we don't access every day). And, with all that, we still have room for our water maker under those floorboards! Also, key was the new shelving in our hanging locker. We now have a great place to access dishes, plastic storage containers, and our pots and pans. Fantastic!
The garage is now installed and has given us A LOT more storage space. Not only is one of our new lithium batteries stored under the floorboards but the little access hatches that Mike cut into the floorboards has given us more storage for our other stuff (mostly our extra gear that we don't access every day). And, with all that, we still have room for our water maker under those floorboards! Also, key was the new shelving in our hanging locker. We now have a great place to access dishes, plastic storage containers, and our pots and pans. Fantastic!
