The Project: Building shelves for our three hanging lockers
The why
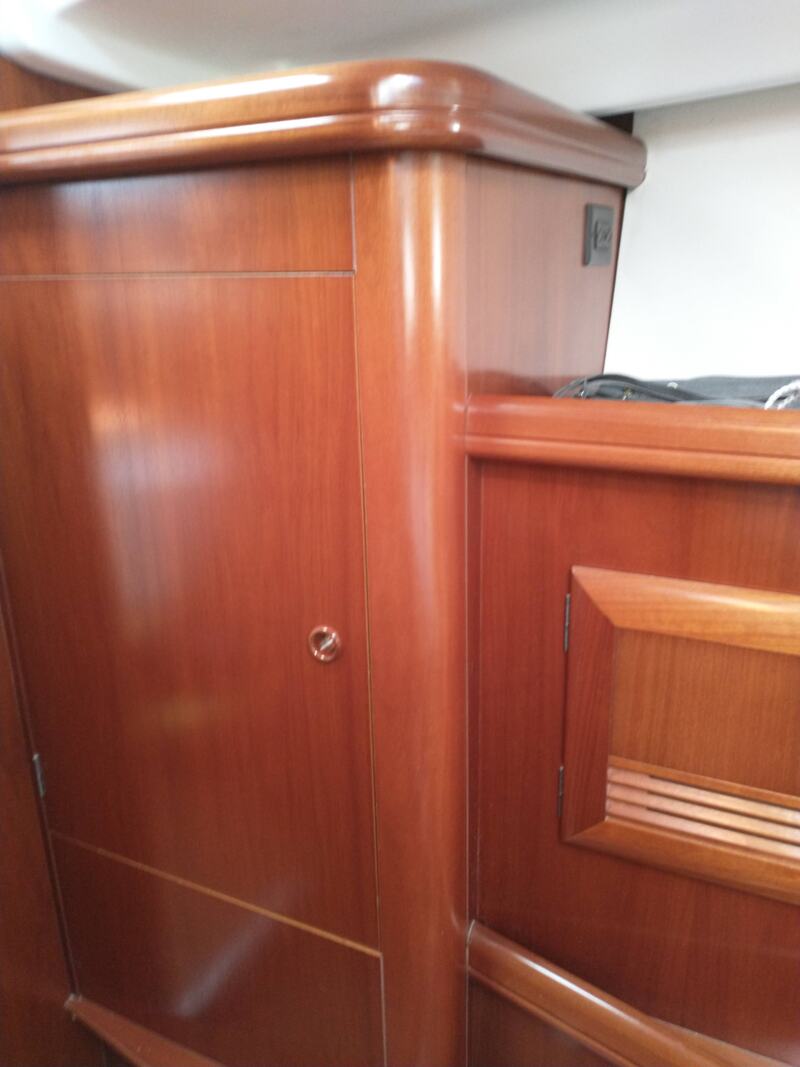
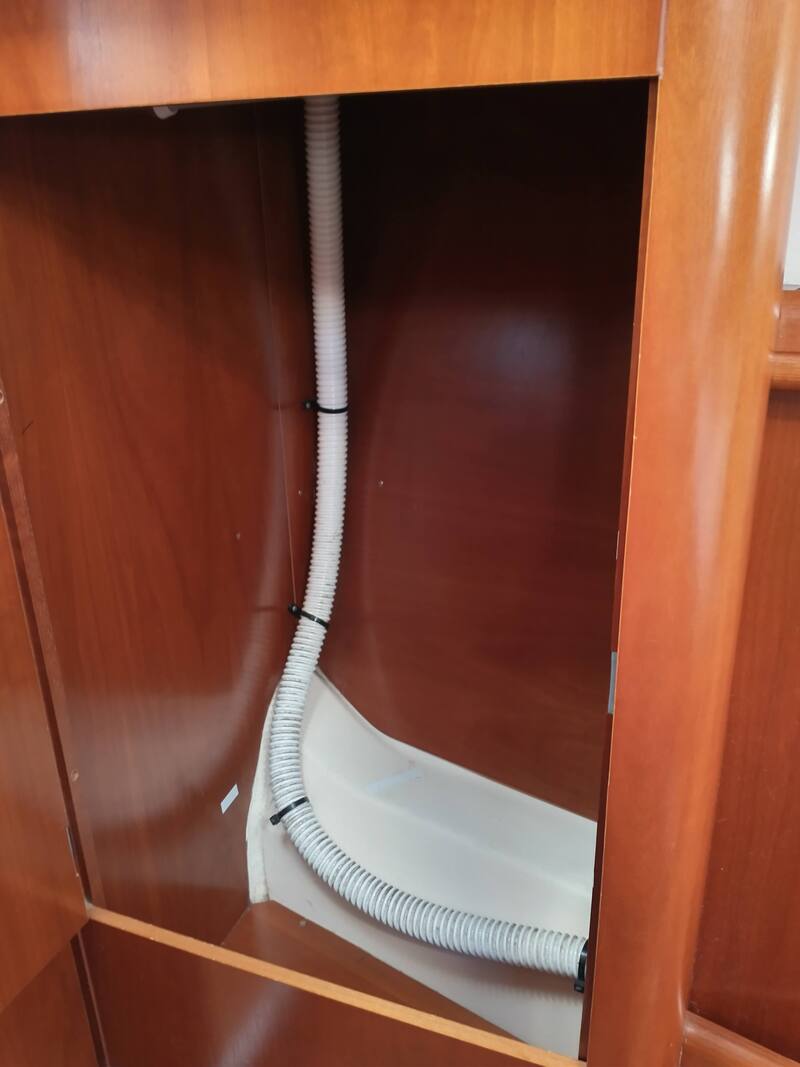
Wild Horses is a great fit for us boat-wise but some its out-of-the-box aspects need a little tweaking to fit us exactly. A good example is the hanging lockers. We have three of them and they are a good size and perfectly located within each cabin. Their only downfall is that they are "hanging" lockers. That is, they are set up for people who hang stuff. We don't. We fold and stack. We also are minimalists when it comes to clothes so having three hanging lockers devoted to hanging clothes wasn't the best use of these otherwise great storage units.
Wild Horses is a great fit for us boat-wise but some its out-of-the-box aspects need a little tweaking to fit us exactly. A good example is the hanging lockers. We have three of them and they are a good size and perfectly located within each cabin. Their only downfall is that they are "hanging" lockers. That is, they are set up for people who hang stuff. We don't. We fold and stack. We also are minimalists when it comes to clothes so having three hanging lockers devoted to hanging clothes wasn't the best use of these otherwise great storage units.
The plan
Decide on the best use of each locker and build custom shelves.
Decide on the best use of each locker and build custom shelves.
The cost
Keeping the costs low for this project was really dependent on the wood chosen. We went with oak because it is strong, would deal with heat and humidity well and was on sale at our local hardware store 😊. We also had no labour costs with Mike doing all the work on his own.
Materials - $391 which includes Wood ($168), Stain & Varathane ($210), Other including hardware and template material ($13)
Labour - $0
The total project cost was $391 CAD.
Getting it done
This wasn't a difficult project as far as boat projects go but it did require some basic handyman skills, some design creativity and loads of patience. Mike has the first two in spades and we figured he could just fake the last one to get the job done 😊.
The first step was deciding how we wanted to use the three hanging lockers. The first is in our cabin so it would naturally be used for our clothes, towels etc. The second is in Ocean's cabin (that's right, our dog has her own cabin - she is definitely living her best life). Ocean has "stuff" like food, gear, shampoo, doggy bags which has to be stored somewhere. We decided that the second hanging locker would be dedicated to that "stuff". The third hanging locker is starboard aft which is adjacent to the galley so this third hanging locker would be set up as a pantry. Awesome.
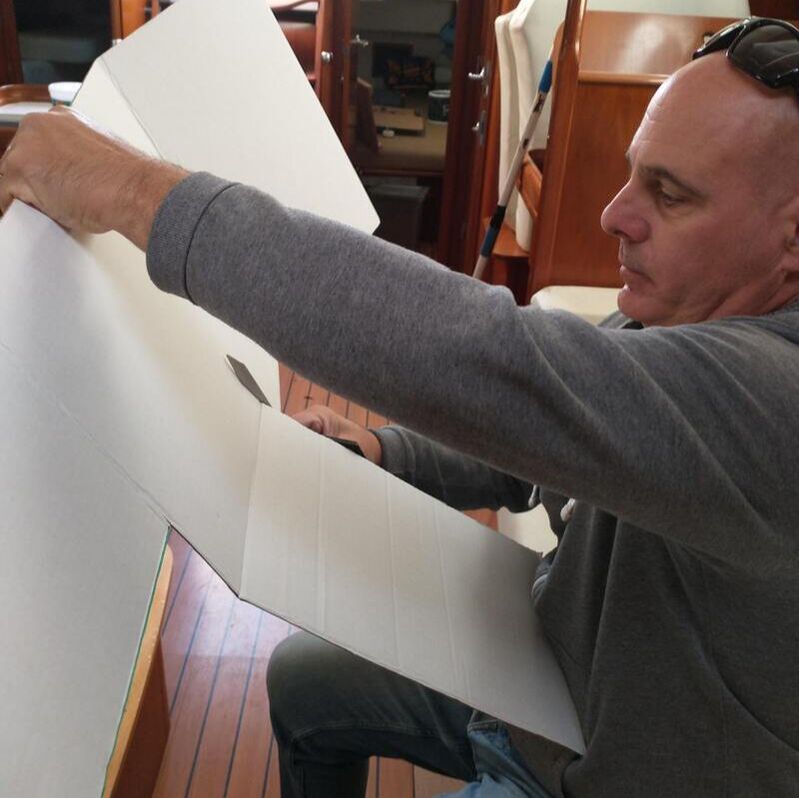
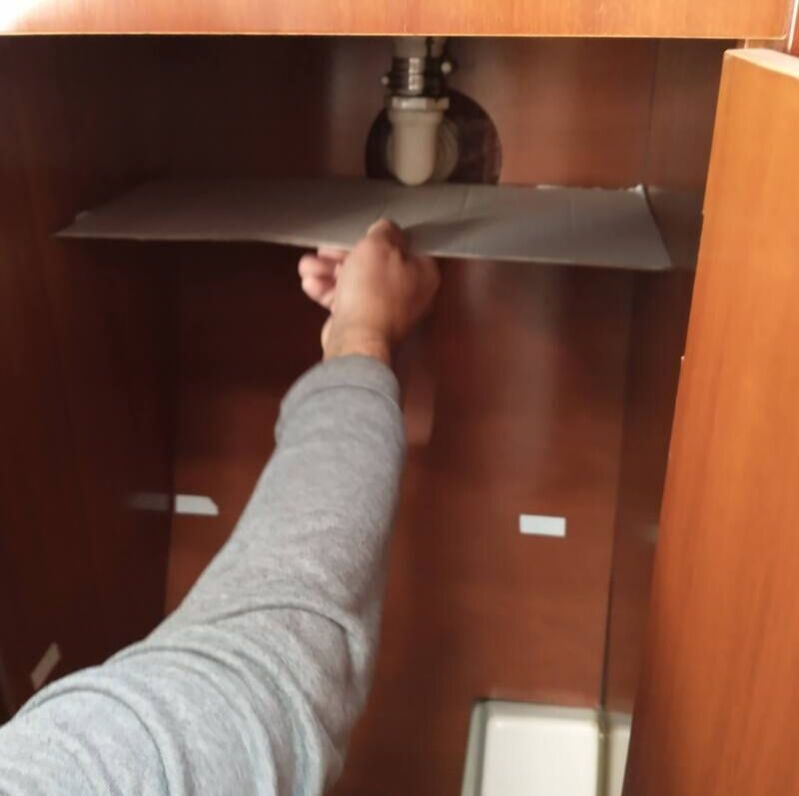
Step two - templating. We used cardboard from the dollar store to create our templates, making sure to label front, back, top, bottom and which hanging locker it was for.
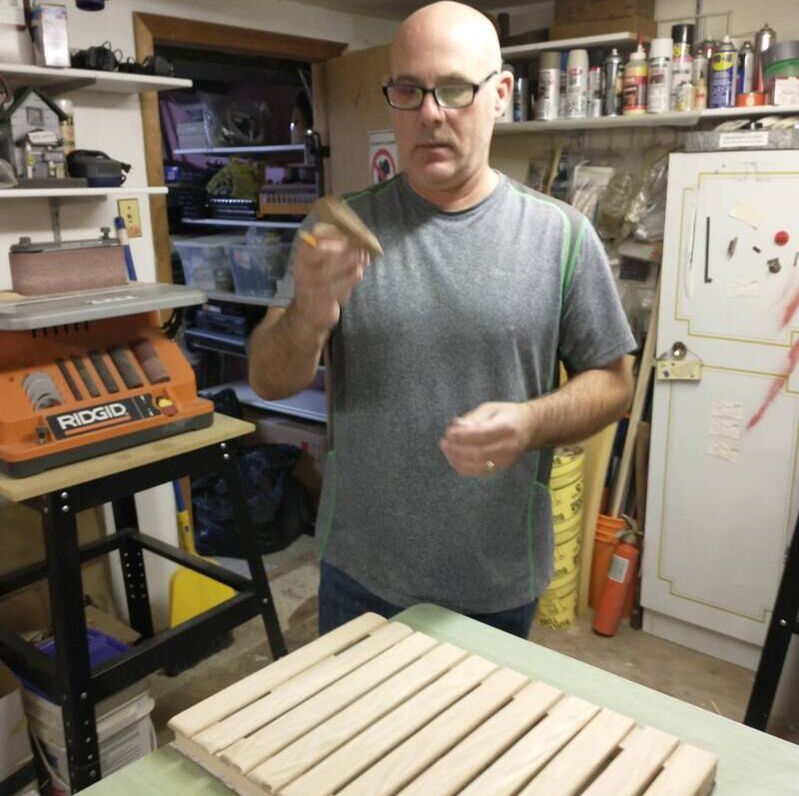
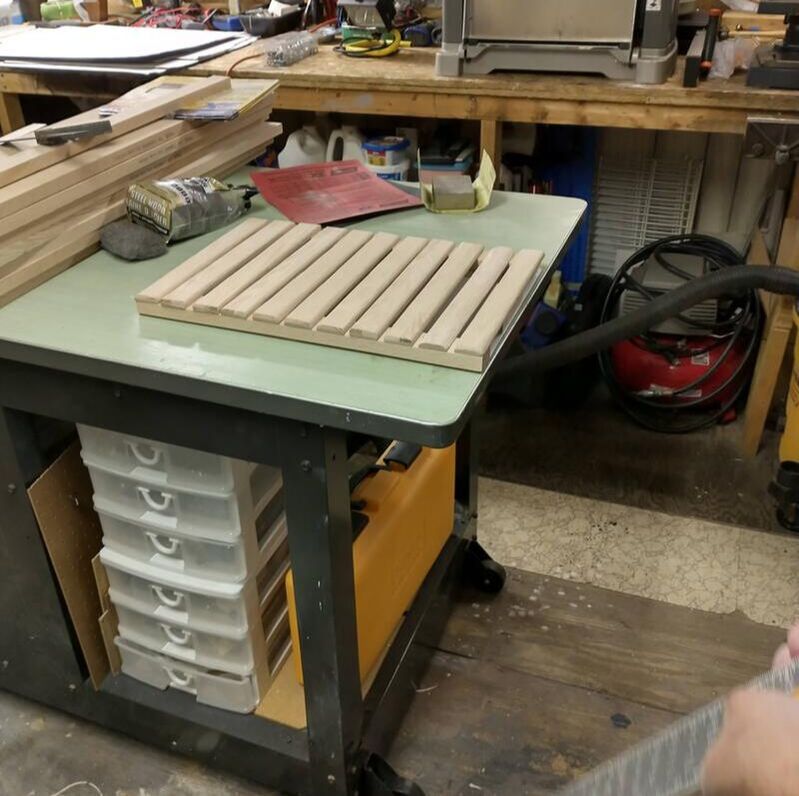
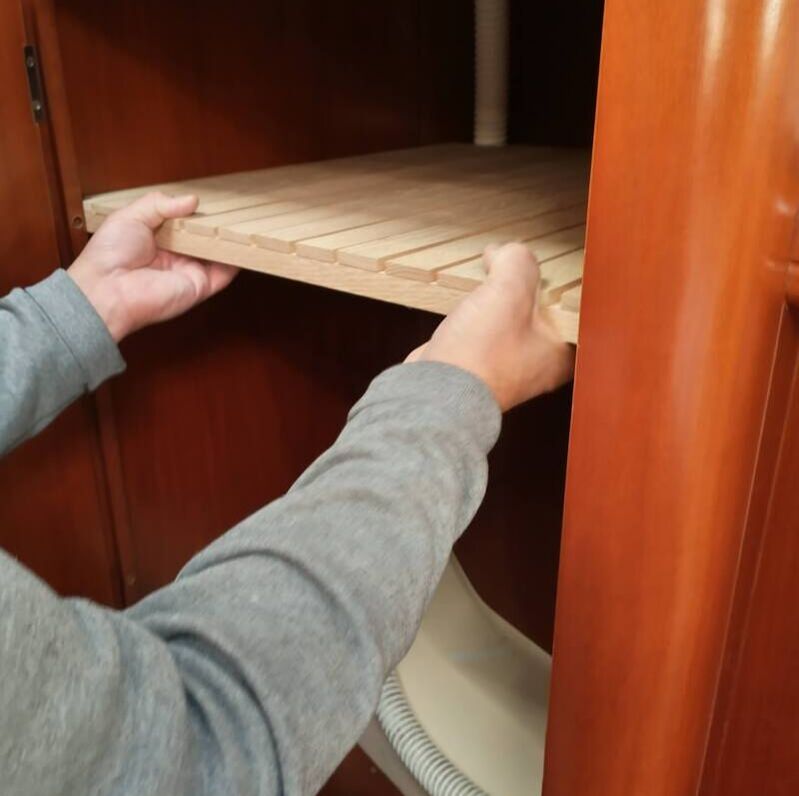
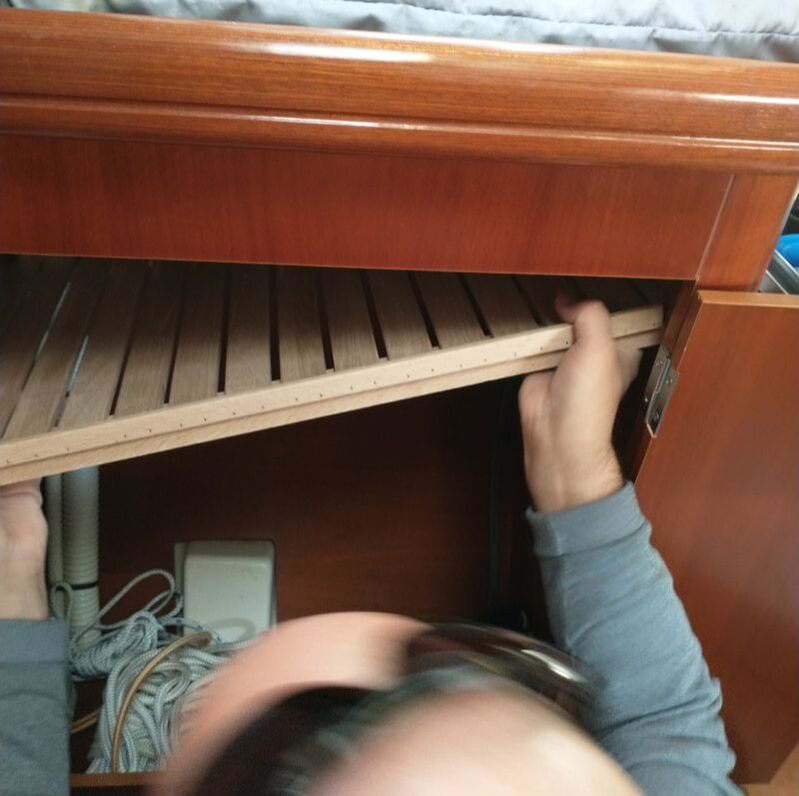
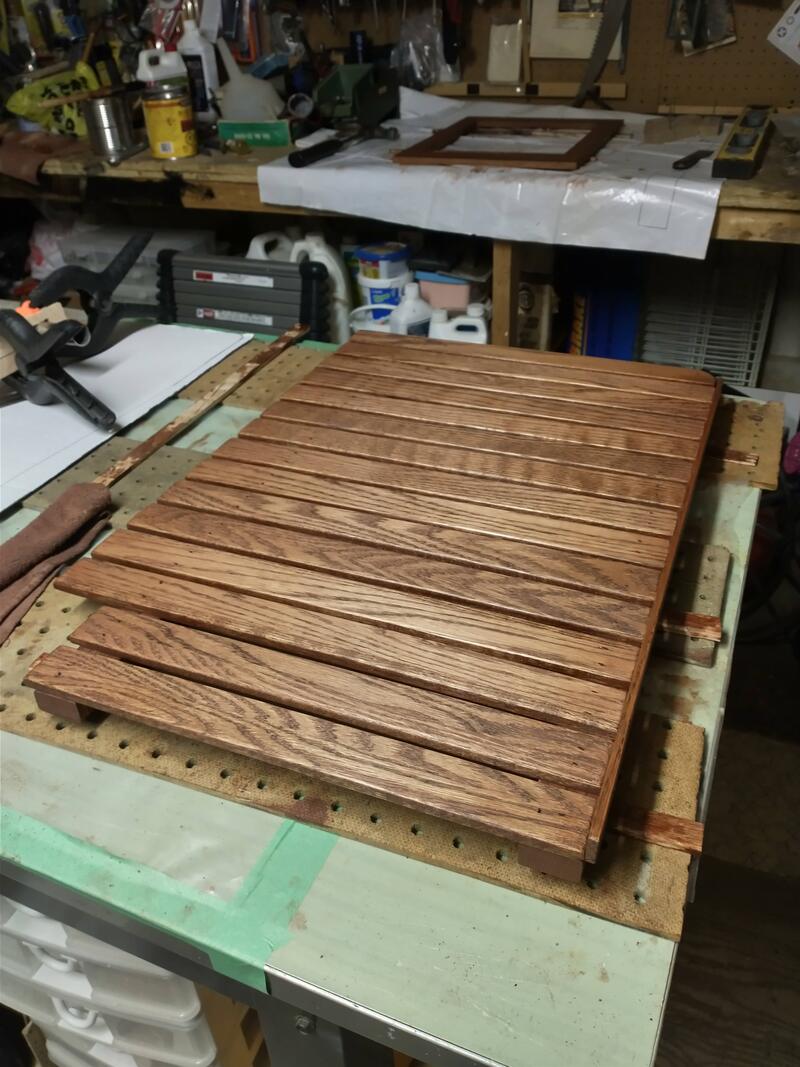
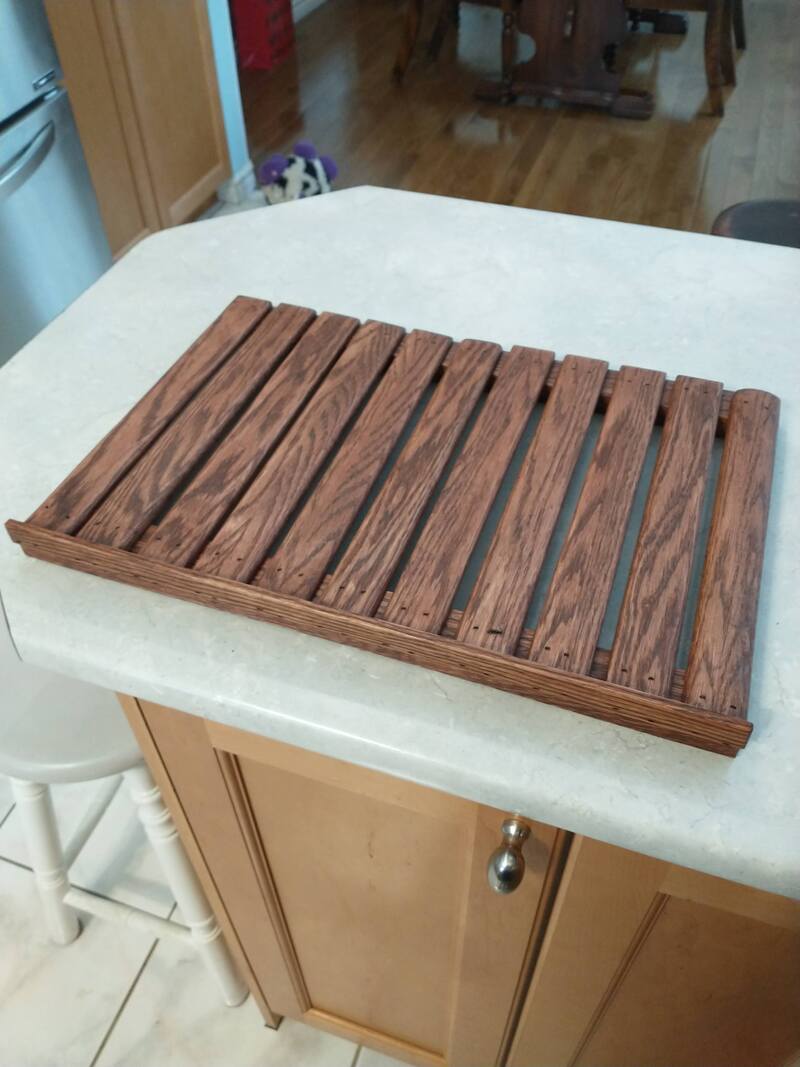
Step three - design and build. We decided to go with a slat system for each shelf instead of solid wood construction. This system uses less wood per shelf, is lighter and also allows for air flow between shelves.
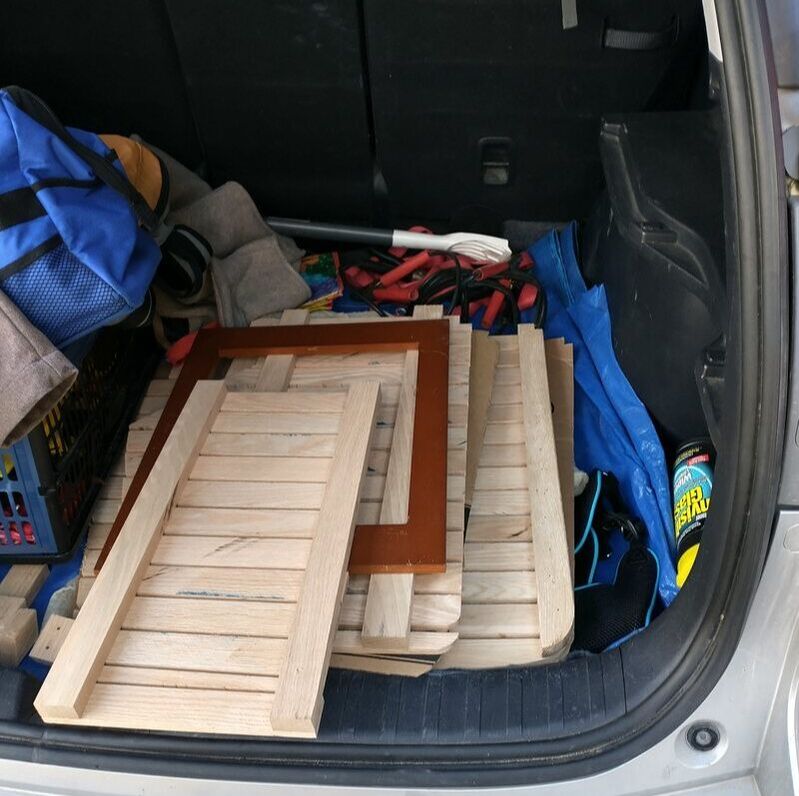
Step four - test the fit. This was key to getting the shelves not just to fit perfectly but also to be fit-for-purpose. What do I mean by that? For some of the bottom shelves, we needed them to be easily removed in order to be able to store rarely used items underneath. We also wanted the shelves to be removable in case our storage needs changed.
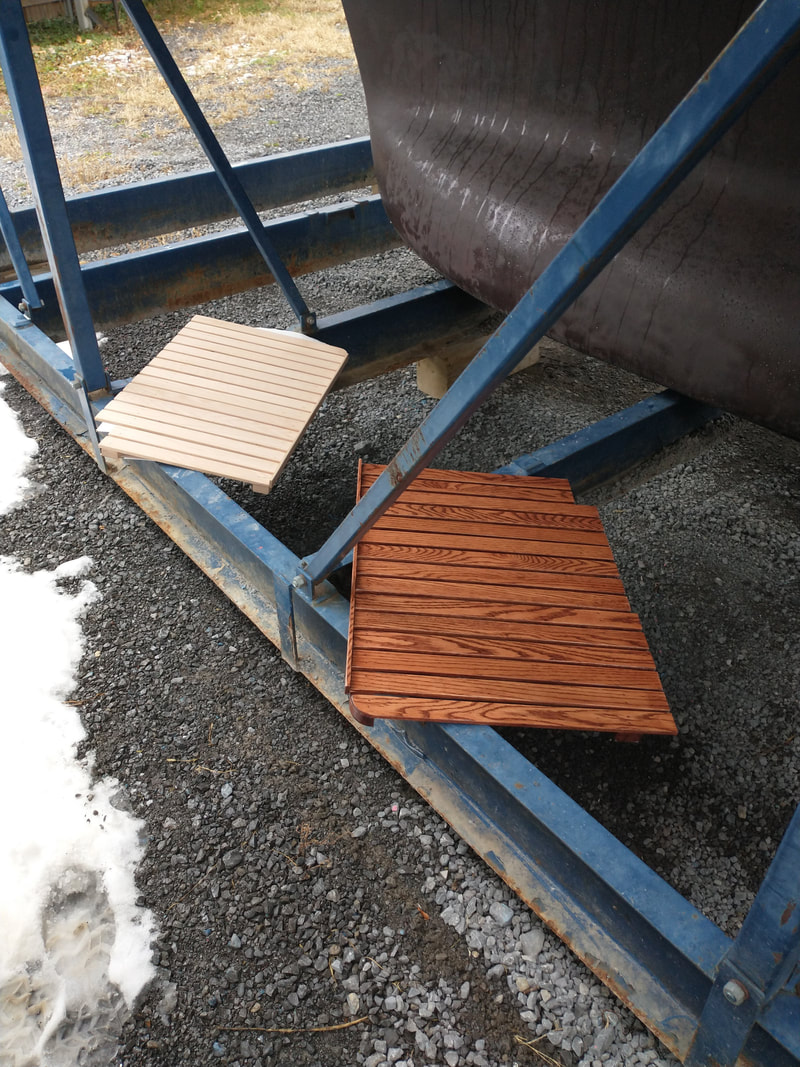
Step five - stain and varnish. Finishing the shelves so that they were protected and also matched the boat's interior was important to us. We wanted them to be both beautiful and functional.
