Sailing Wild Horses
  • Home
  • Crew
  • Blog
  • Our Boat
  • Projects
  • Contact
  • Clearing In - USA & Bahamas Edition
  • Clearing In - Carib Edition

Boat Projects

Changing Antifouling Bottom Paint from VC-17 to Micron CSC

6/23/2020

 
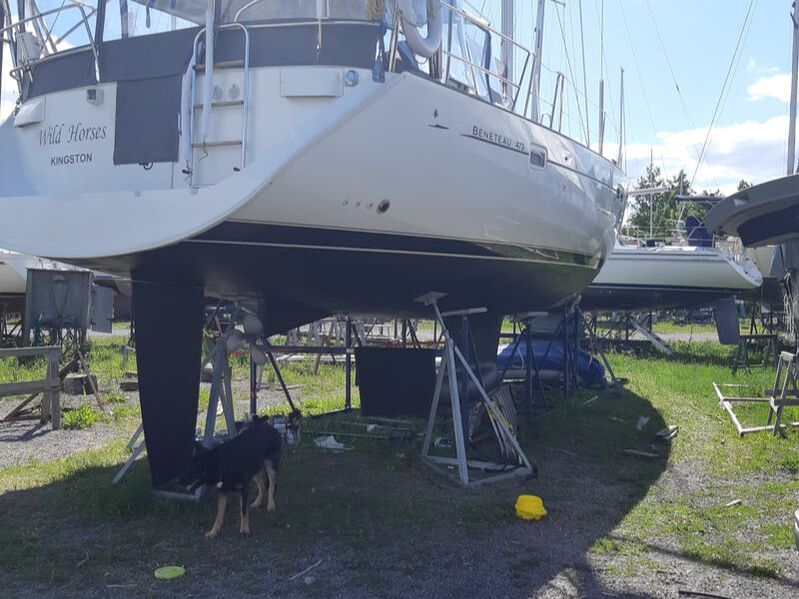
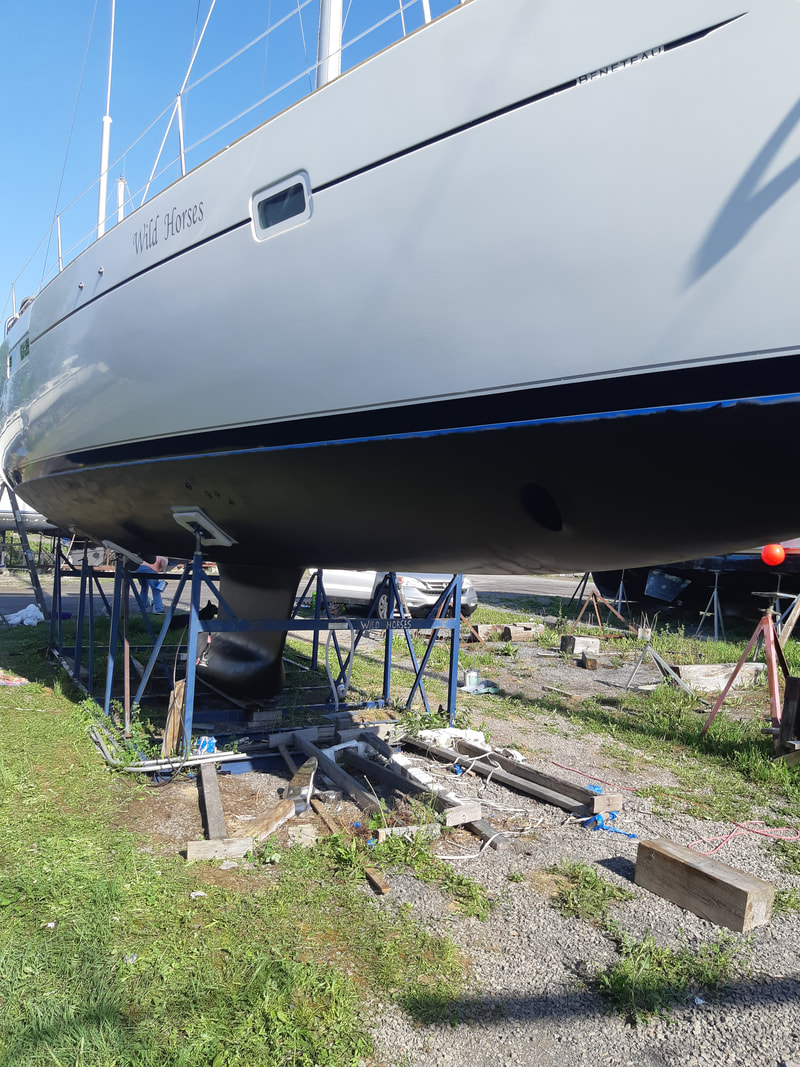
VC-17 is great for fresh water but since Wild Horses will be spending her full-time future in salt water, she needs an antifouling paint that is less ablative than VC-17.  We DO NOT want to be in the business of hauling the boat out of the water every 3 or 4 months to apply new antifouling.

Hence, “change antifouling pain to something saltwater friendly” got put on our projects list.

Note to anyone thinking that this is a fun weekend project.  It is not.  It is not quick, easy and is nowhere near fun.  But getting some tips on what to do and what not to do, helps.  Here is our experience.

The major steps, in a nutshell…
  1. Remove all VC-17
  2. Apply a new coat of epoxy
  3. Apply new coats of antifouling paint

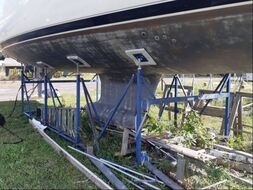
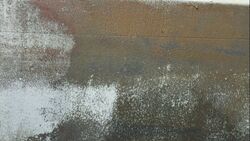
​Crap, that sounds too easy.  Let’s unpack it a little.
Removing the VC-17

Sandblaster or DIY?  We went with DIY to keep the project within our budget and to control our schedule.   
  • The advantage of getting a company to sandblast the boat bottom is that it can be done in a day, with no effort from us.  The disadvantages are (1) removal of good foundational layers of epoxy, (2) scheduling – sandblasters are busy and we were advised that our boat would have to be “fit” into their schedule (3) cost.  We were quoted $2,000 CAD for the sandblasting plus we would have to pay our marina $500 to move our boat to the sandblasting area of the yard. 
  • DIY removal of the VC-17 took more of our time and effort but it was more cost-effective (see table below).  We also saved about $1,000 CAD in additional epoxy (4-5 coats) that we would have had to apply back onto the boat if we used the paid sandblaster.
Picture
Condition of hull after applying paint stripper
Picture
Close up view of remaining VC-17 after applying paint stripper
Picture
Mike sanding off the remaining VC-17
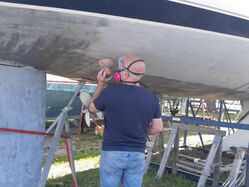
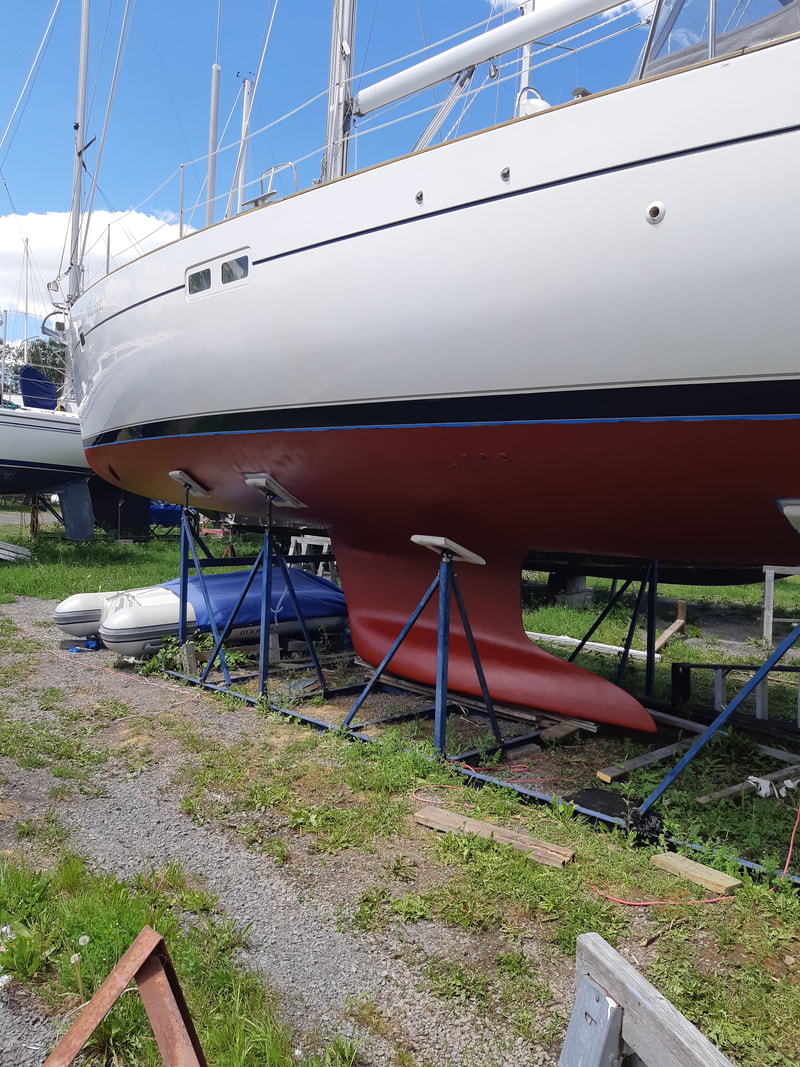
Applying epoxy and antifouling
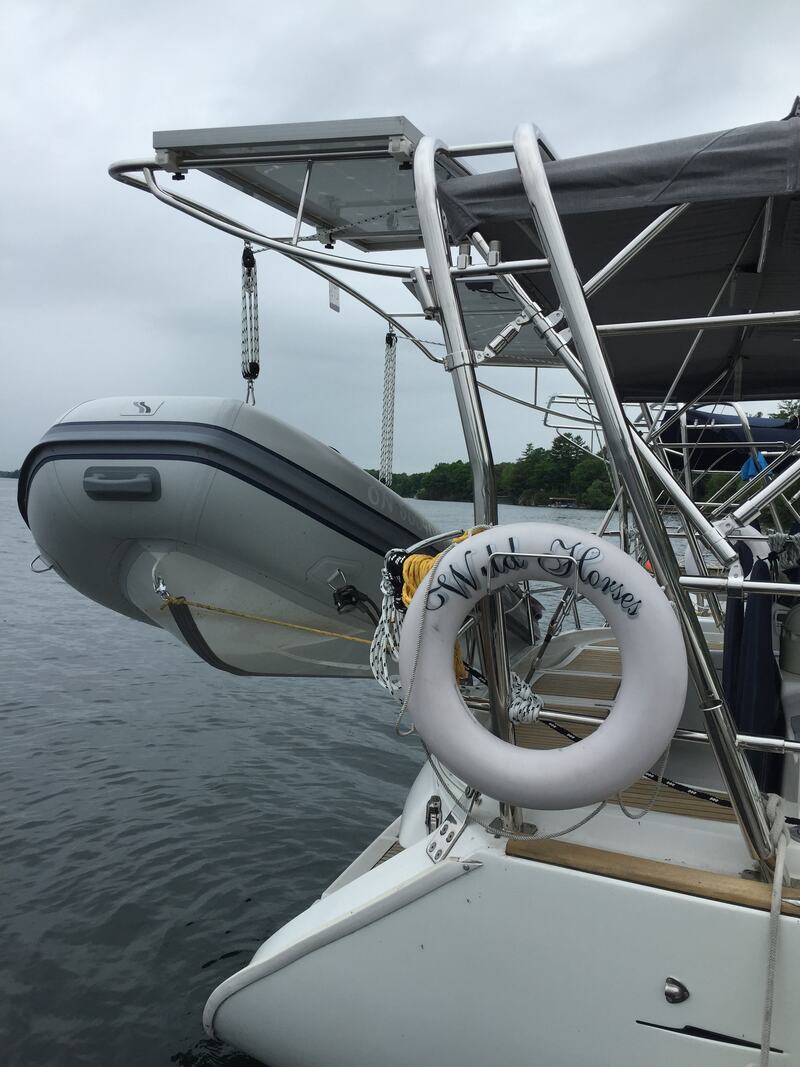
  • It is critical to start with a good base.  By removing the VC-17 ourselves, we could see that our hull was near perfect.  No cracks and no signs of osmosis (gelcoat blisters) or other fibreglass failures.  We also were able to ensure that we removed very little of the existing epoxy coats on the boat.
  • Even though the existing epoxy coats were maintained, we still needed to apply one additional coat of epoxy.  Interprotect guidelines recommends applying your first coat of Micron CSC to the hull when the epoxy layer is still tacky.  This ensures that the antifouling paint is bonded to the epoxy and won’t peel off.
  • Of course, the boat in her cradle is supported by boat pads, the hull under which also needed to be epoxied and painted.  We solved this by completing all epoxy and painting coats for the rest of the boat first.  We then attached jack stands to the hull so we could lower the cradle pads.  Being cautious, we only lowered half the pads at a time.  This increased our painting time but, more importantly, decreased our stress that the boat would move in its cradle.
  • We applied three coats of antifouling paint using black, then red, then black.  Every other coat added in the future will be black.  The idea being that the red coat will serve as our “hey, you need to add antifouling paint” notification.
Picture
Wild Horses with a new coat of epoxy
Picture
First coat of antifouling
Picture
Second coat of antifouling
Picture
The finished product!

Installation of a Custom Arch

2/24/2020

 
There are many options to manage bringing a dinghy along with you on a sailboat. You can tow it, store it on deck, or you can hang it from the stern of the boat on dinghy davits or a stainless steel arch.  When we bought Wild Horses, she  came without davits or an arch so we chose to tow the dinghy whenever we sailed.  Compared with storing the dinghy on deck, this gave us easy access to hop into the dinghy and head to shore for some exploring and walking the dog.  This system worked great but it also left the dinghy vulnerable to theft (cut the tow line, get a free dinghy and motor!) and also slowed the boat down.
Through much research and weighing the pros and cons vs cost, we decided to make the investment and have an arch made for our boat. The arch serves multiple functions along with being a dinghy hoist. It holds our solar panels, AIS GPS, nav light, extra fittings for future attachments (WIFI booster for example), fishing rod and flag pole holders and a wind turbine mount.
​
The arch was custom made for our boat by Klacko Marine and we could not be happier with the result.  This system allows us to hang our dinghy off the back of our boat so no more slowing of our progress.  We also are able to lock the dinghy in place so it removes the chance of theft.  With this project, we also took the opportunity to have the stainless steel safety rail on the stern of our boat extended to the boarding stations.  So much safer! 

Picture
Picture
Picture
Interested in getting an arch for your boat?  Check out Klacko Marine!  
​
https://klacko.ca/

    Author

    Mike loves boat projects.  Actually, he loves finishing boat projects and he has many on-line and off-line sailors to credit for getting them done.  He shares some of them here to pay it forward.

    Archives

    June 2020
    February 2020

    Categories

    All

    RSS Feed

Powered by Create your own unique website with customizable templates.
Photo from davidweedallphotography
  • Home
  • Crew
  • Blog
  • Our Boat
  • Projects
  • Contact
  • Clearing In - USA & Bahamas Edition
  • Clearing In - Carib Edition